If you are going to test your telescope mirror, you will sooner or later need a Ronchi screen. The best Ronchi screens are usually made on glass, with the black lines being formed by metal or chrome deposition. Another way to make a good screen is by film reduction: you print a large screen and rephotograph it with a copy lens onto high contrast film. Or, you can have them printed at 2400 dpi by some fancy copy shop onto transparency film.
But all of this is more work and expense than you will typically need for average work. Or so I would submit. For years, I used some gratings that I printed onto normal overhead transparency stock using an older HP laserjet printer. But getting it exactly right so that each line was the same width was a bit tricky (or so I recall) and I didn’t have any of those gratings around, so I thought I would try to see how I could reproduce those old style gratings.
Rather than recreate my old setup, I thought I’d see what the guys over at the Stellafane website were doing. On this page on building a tester. They had two different methods. The first is probably the easiest: download their PDF file, and print it after making sure that you turn off the “Fit to Page” or “Autoscale” or whatever that will resize the graphic. When I printed this on an HP Laserjet, I got a nice looking grid. I also experimented by taking their gif and converting it to PostScript:
giftopnm atm_ronchi_screen.gif | ppmtopgm | pnmtops -dpi=200 -equalpixels > ronchi.100.ps
The first is undoubtedly easiest, but by modifying it a bit, you can get a 60 line per inch grating too.
giftopnm atm_ronchi_screen.gif | ppmtopgm | pnmtops -dpi=120 -equalpixels > ronchi.060.ps
So, how good are these gratings? I was particularly interested in these questions:
- How smooth/straight are the edges of the lines?
- Are the lines of consistent thickness?
- How even is the spacing? Are the black and clear areas of equal width?
I didn’t have a microscope handy, but I did have my trusty iPhone. I’ve experiment before with placing a small drop of water on the lens of the iPhone to act as a macro lens, so… that’s what I did. The quality of the image is not great: I’ll try to get it setup on my microscope soon, but here’s the picture I snapped:
 It’s not the greatest picture, but to my eye it does look like the lines are fairly smooth and straight, and that all the black lines are of consistent width. It does appear to me however that the black spaces are signficantly wider than the clear spots. It’s also clear that the roughness of the paper is causing some issues, and that my water drop macro lens could certainly better.
Next step is to get these printed on some real transparency stock, and then look at the resulting gratings under a microscope. Stay tuned.
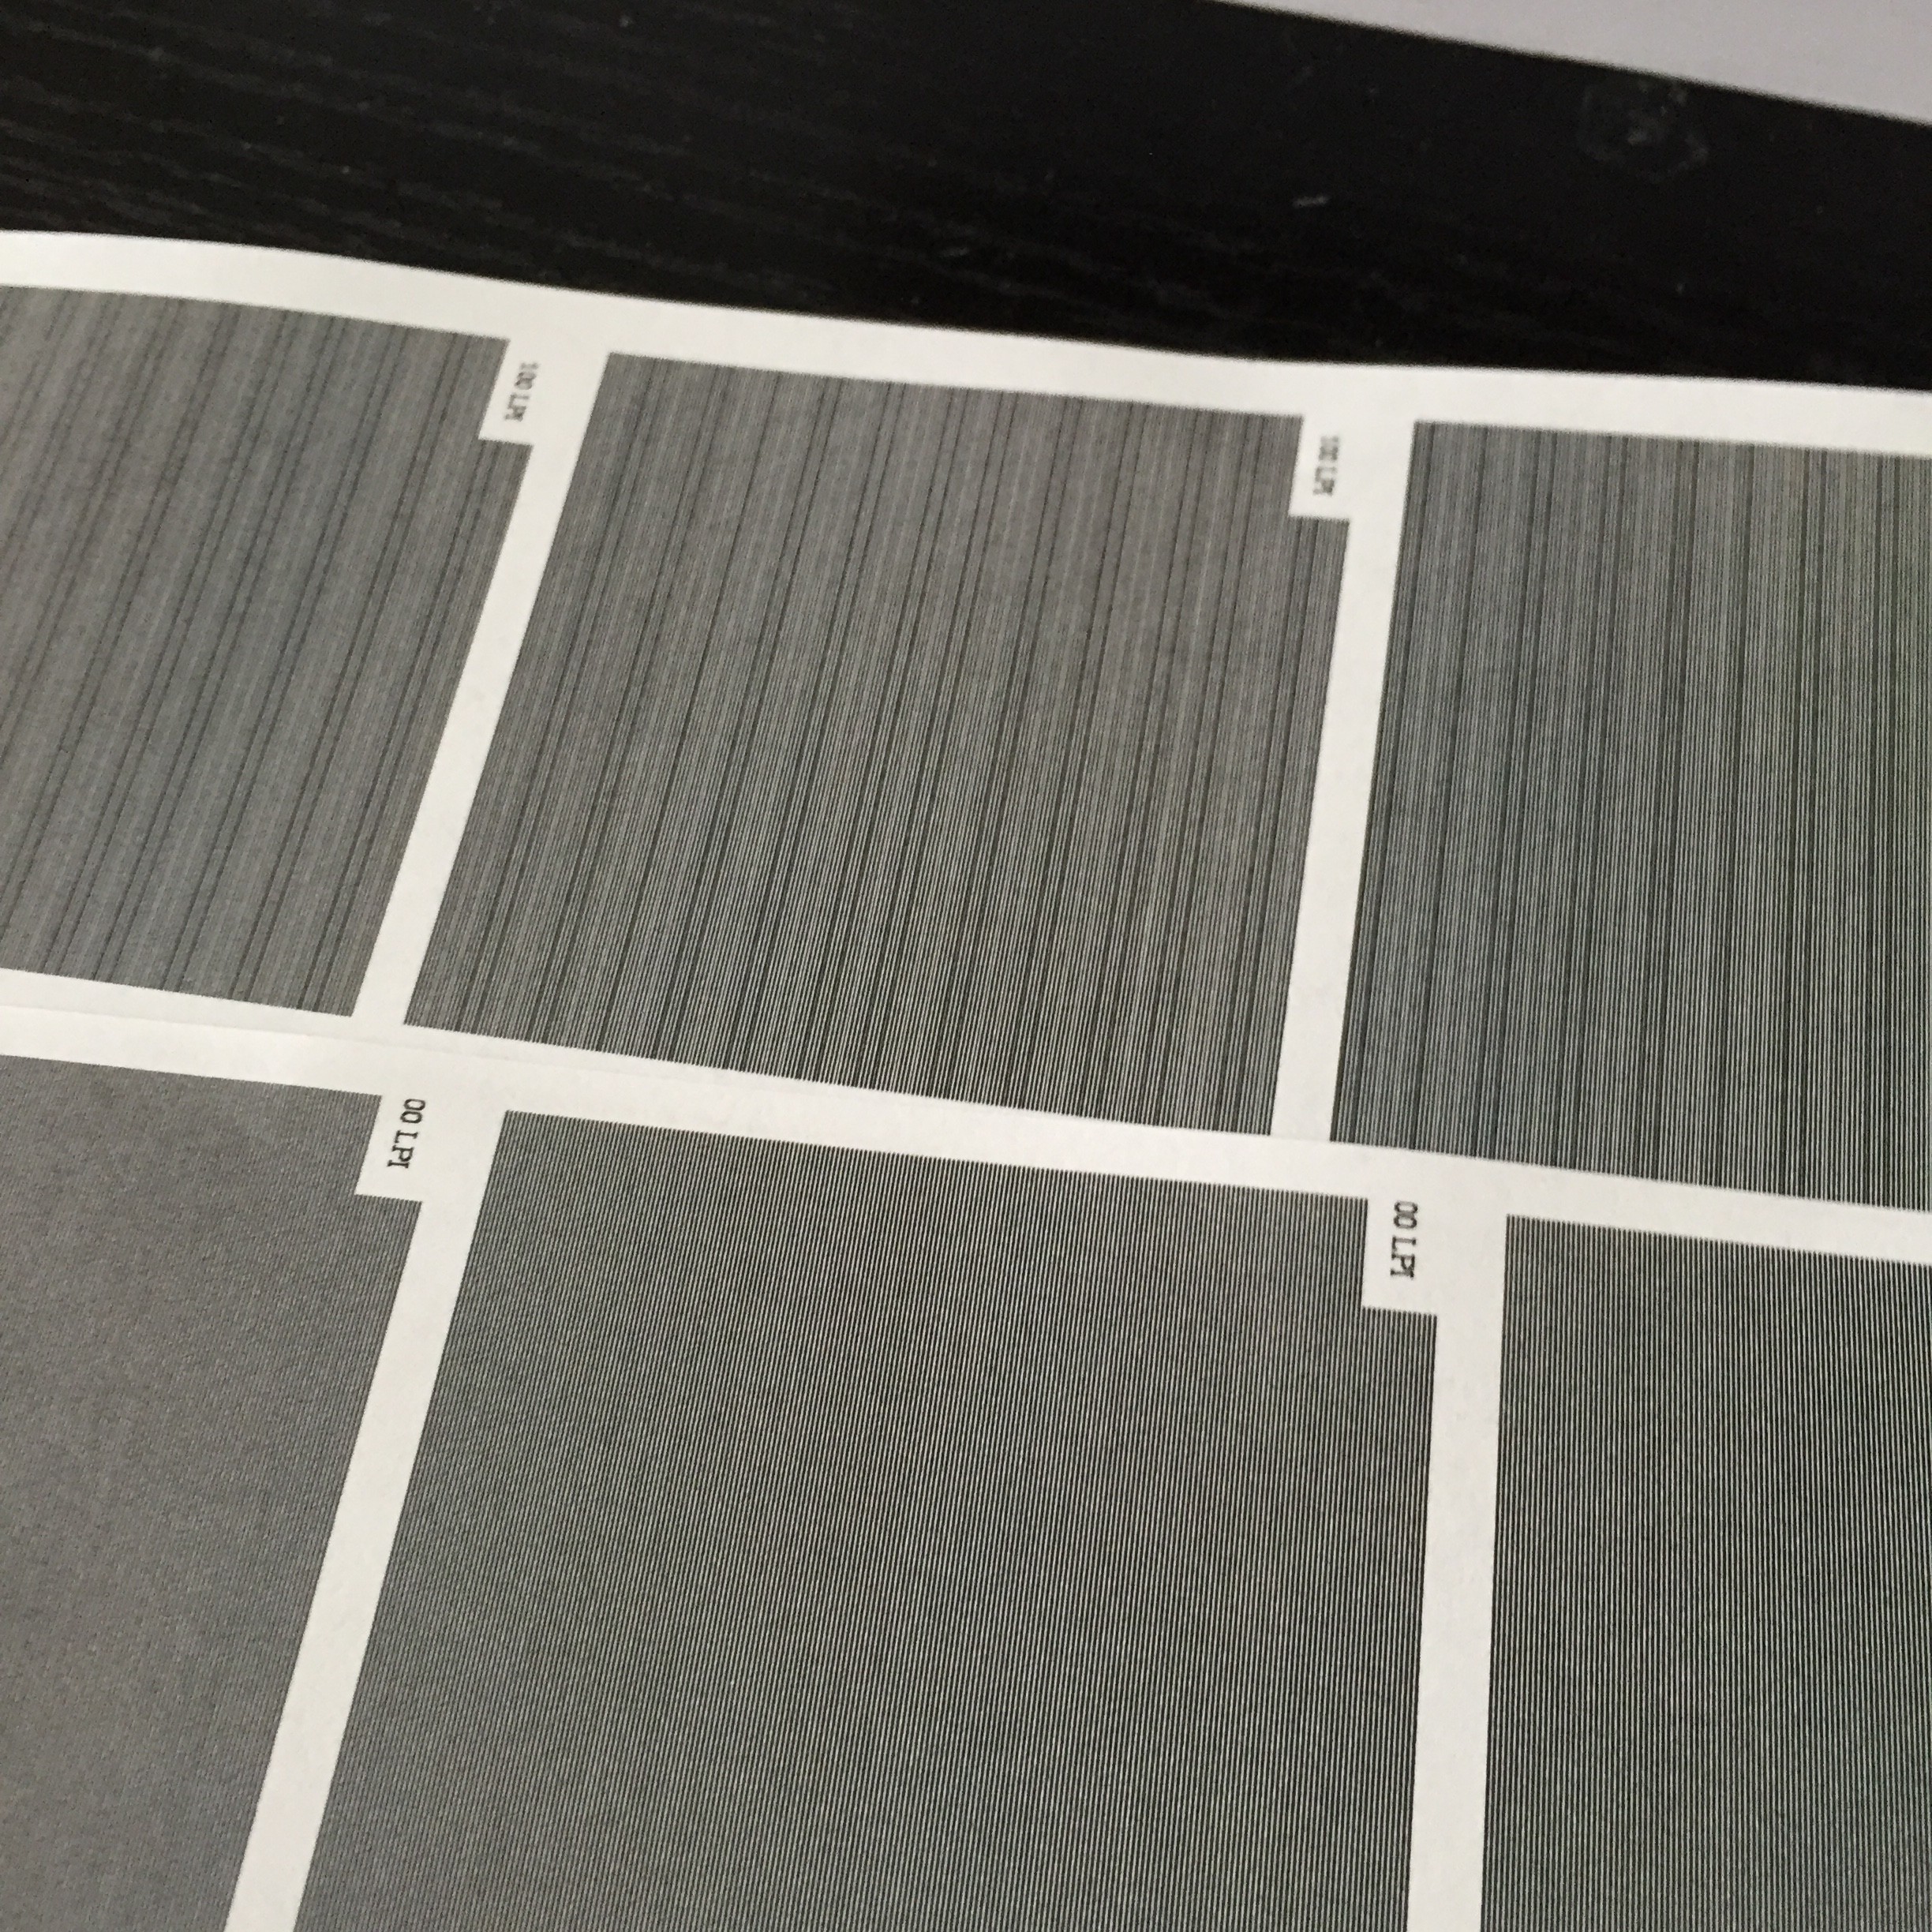
Addendum: Printing out a single 2×2 inch grating on a page seemed like a terrible waste of material. You should be able to get around 20 per page, so I went ahead and created a PDF file that holds 20 gratings. When I first tried to print it, I forgot to click off the “Fit to Page” option, so it rescaled and I ended up with a page of terrible looking gratings. I then redid it with that option turned off, and got a nice page, although it looks like a couple of the gratings are clipped by the margins of the page.
If you try to print this and you get results that look like the printout at the top, it’s usually a driver that is trying to rescale your output. I suppose it is also possible that your printer does not have a native resolution which is a multiple of 200 dots per inch.