Weekend Update…
Okay, I began this weekend with every intention of doing a video about my solar energy project. But in true usual “brainwagon” fashion, my attempt collapsed into a seemingly infinite regress of projects and subprojects, and the eventual goal of producing a video pushed beyond the horizon of the weekend. But still, I thought I’d owe you all an update anyway, and any documentation of motion toward my goal is likely to make me more enthused about my goal, so here is at least a run down of what I did.
But first, Dean put out his first video under the new #nerdthunder tag. He took several cheap solar garden lights and chained them together to create a higher voltage source, with the ultimate idea of powering some kind of motion sensor that can be used to alert him to the presence of birds who sometimes get caught inside his bird feeder.
Nifty, and somewhat parallel to my own project. I ultimately wanted to power my motion detecting hummingbird camera that I’ve talked about on this blog before, so I constructed a somewhat larger system. It consists of the following components:
- Wemos D1 Mini ESP8266 Board
- Allpower 20A Solar Charge Controller
- Mighty Max 12V 7.2aH Battery
- Newpowa 12V 10W Polycrystalline Solar Panel
- INA219 Bi-directional Current/Voltage/Power Sensor Module
- Adafruit MCP9808 High Accuracy I2C Temperature Sensor
- MPL3115A2 Atmospheric Pressure/Altitude/Temperature Sensor
- Adafruit Ultimate GPS Breakout
The basic idea was to create a basic solar system with solar panel, dedicated charge controller, and a battery, and then instrument it with sensors to measure the voltage and current (and therefore, the power) that is generated by the solar panel and then used to charge the battery. I could then do things like log them to an MQTT server (I’ve been using the free service provided by Adafruit, graph them over time, and use them to measure the total power consumed by the system, and judge the overall efficiency.
And just learn.
And, it was working pretty well until the week before Thanksgiving. Then, I made a somewhat silly mistake: I added a little LED voltmeter across the battery terminals so that rather than being forced to go to the web, I could just glance out my window and see what the status of the battery was. The problem was that the voltmeter itself draws a bit of current (I haven’t checked how much yet) and it isn’t connected to the load, it was connected across the battery terminals directly. The charge controller has over discharge protection, which means that when the battery voltage drops below some minimum (the default is 10.7v) it disconnects the load from the battery so the battery doesn’t drop below that minimum voltage. It then waits until the battery charges above some voltage (I think 12.5V or so) before reconnected the load. I should have connected the LEDs across the load, so that they will disconnect. But since I connected them across the battery, it ran the battery really low when we had an extended bout of rain with appreciable solar charging. When I finally realized what had happened, I disassembled the setup and brought it to my workbench. Slapping my multimeter on it revealed a voltage of just 3.75V. Not good.
So, all that happened before the weekend. I had some ideas about how I would make a video describing the system. But first, a few issues…
My workbench wasn’t really setup for hacking in my garage. In particular, I had mostly used it for woodworking, which meant that it was on the other side of the garage, and not near any real electrical outlets. I had done some cleaning, but there still as a lot to do. I thought I’d go ahead and move the bench to the other side of the garage nearer some real power outlets, and that meant more cleaning. I was thinking of using my GoPro to record a time lapse of me working, but sadly discovered that the crash that took out my DJI Phantom 2 had also seemingly claimed the GoPro (it doesn’t appear to charge or power on). Instead, I snapped some pictures of some of the stuff that I uncovered while tidying. Not sure why some of the photos turned out so crushed color wise: I’ll have to fix it later today. Stay tuned.
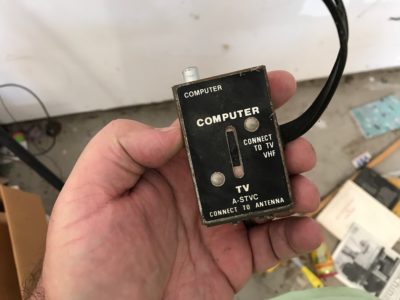
- You have to be pretty old to remember these
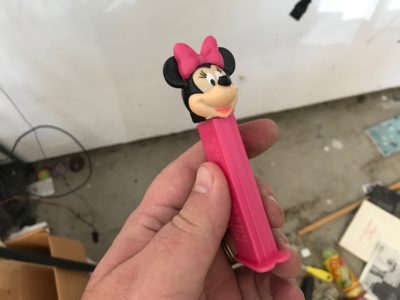
- A Minnie Mouse Pez Dispenser
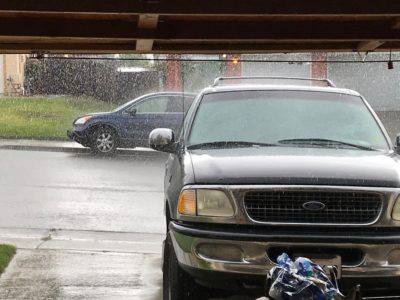
- It was raining…
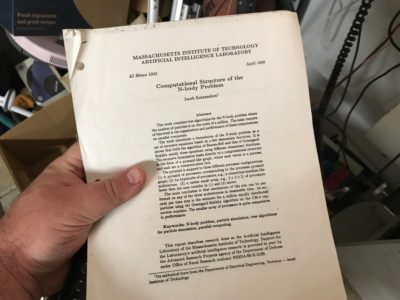
- Pat Hanrahan gave me this paper to read as a prelude to explaining how his N-body radiosity stuff worked.
- A painting done by mom, commemerating my brother, sister and I playing at the beach.
- Another painting by my mom, of me and my brother during the snow storm in 1969.
- Another of my mom’s paintings, depicting me grinding my first telescope.
- A little floral still life painted by mom.
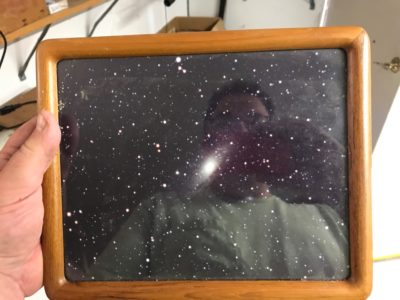
- The Andromeda Galaxy, as taken by my friend Jeff during one of our astronomy excursions in college
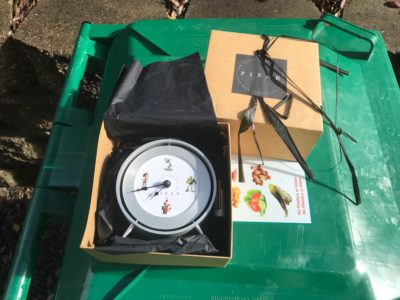
- A Pixar gift from the early years
- Fossil Numbered Toy Story Watch, Buzz
- Numbered Toy Story Watch, Woody
- An authentic copy of the legendary HAKMEM memo.
- A D&D book I’ve probably had since I was a teenager.
- A monkey given to me by Dave Rutledge of “woot” fame.
- A broken disco ball ornament.
- A book on ancient engineering that I bought in some bargain bin. It’s not bad.
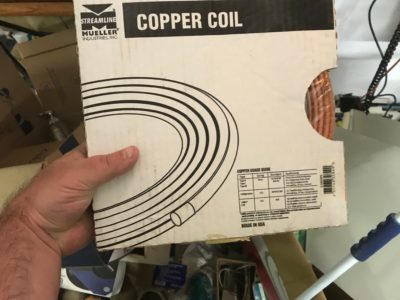
- Some copper tubing that I bought to create a loop antenna.
- A 25th anniversary of Apollo 11 pin that I got on a trip to Cape Canaveral in 1994.
- Fuzzy Dice!
As you can see, this collection indicates that I am basically a crazy person. Still, it was pretty awesome to see some of this forgotten stuff, especially the paintings by my Mom who passed away a few years ago. I am going to get these digitized, and then make sure they are reframed.
This was all a distraction, but I got through it, and moved my bench to its new location. I then thought I would try to record some video. I used a combination of hand held iPhone video for shots in my garage and webcam video of my explaining stuff, and then set about trying to cut it together in some kind of narrative using the OpenShot video editor. A couple of hours later, I realized that I was really unhappy and grumpy. Some list of my apparent grievances:
- OpenShot is kind of annoying. One particular problem seems to be its lack of ability to adjust or normalize audio levels, but there are other ones too. It got really irritating.
- The video I shot from my webcam on my laptop is terrible. It’s an unflattering angle, and having to look down into the camera was just uncomfortable enough to get me annoyed.
- I couldn’t find my headset. I really would like to use a headset.
- The video I shot with my iPhone was not very steady, and while I am generally tolerant of some degree of “informality”, it was way worse than even I was able to stand.
- I really need some camera mounts. And better cameras.
So, I lost patience with it. I think there is probably still a couple of hours of work left before I have something that I will still hate. We’ll see if I can get some more work on it this week.
Toward the end of the day, I was re-examining the area around the workbench. Ultimately I want to mount a computer monitor above the bench, in the area that is currently occupied by some bad shelving that was installed by the previous owner. I decided that it should come down, so I got out my trusty Black and Decker drill and took down one small section as a test. That worked pretty well, so I hope in the next day or so I’ll clear all the remaining detritus from those shelves and take them down too. I’ve also pondered creating a mount for a camera that can be folded away but then lowered over my workbench so I can get better video. Maybe that will be something I get to in the next few days.
During this time, I had gotten a little 12v charger and put the battery back on the charger. I couldn’t find my old one, and got same day delivery on this one from Amazon. It seemed to work, but I’m a little leery of it. I had hooked up the same voltage meter that caused the issue with my system across the battery to monitor its charge. I used that as an opportunity to test live streaming using ffmpeg (perhaps the subject of a future video), and generated 46 minutes of video of a battery charging on Youtube.
I then killed the stream, and left it charging. By the morning it had risen to 14.0V, but somewhat annoyingly by the afternoon the voltage had risen to 15V. This isn’t good: the maximum voltage for charging SLA batteries is 14.4V. It appears that this ‘charger’ doesn’t have any proper overcharge protection. Still, the battery seemed none the worse for wear, but I would not advise using that particular unit to trickle charge SLA batteries.
So, late last night I rehooked up the battery, and the unit fired up and started to send telemetry. I didn’t have the solar panel hooked up, but the telemetry was working.
Except that it didn’t seen be recording temperature properly. There are two temperature sensors. The one that was part of the barometric pressure sensor was working fine. The other was returning a consistent 31.89 degrees. I suspected that something was wrong with that sensor. Since all of this was on a breadboard, it was entirely possible that I bumped a connection loose. I reseted all the jumper wires, all seemed well, and I reset.
And the sensor didn’t come back online. It wasn’t too surprising. As part of its initialization, it checks for the presence of each of the expected sensors, and if any are missing, it basically ends up in an infinite loop until the watchdog time resets. It does print out a fair amount of debugging information, but it wasn’t currently hooked to any kind of serial device (it was still configured as it was deployed in the garden). I got my laptop hooked up, and then watched it boot…
Two things seem odd: the MCP9809 was coded as if it had I2C address 0x18 (the default). A bus scan revealed that 0x18 was missing, but 0x19 was present. Odd. I changed the begin() call to point to 0x19, and reset. That appeared to work, and sent some data to the server for awhile. But then it timed out after a few minutes, and it’s been offline since.
I had always intended to restructure this code and make it more debuggable, as well as make some additional changes, but that will have to wait until later this week.
I also realized that I didn’t have a comfortable work stool. So, I ordered one. Should be hear later in the week.
Sorry that I didn’t get more done. I’ll at least try to work my way back into writing what I do down, and I really will try to make some new videos. I am pondering a “getting started with MicroPython” video, which I may live stream. Stay tuned.






I recall burning three or four weeks of a sabbatical getting Saccade.com on the air with Wordpress. So much tweaking…