Okay, after all the drought-ending rain we’ve been having, our yard has turned into a lush jungle of various kinds of weeds. Part of it is just grass which has sprouted above the black landscape cloth in the mulch, but other areas were more or less unimproved since we finished our retaining wall project last year. After a couple of days of actually doing vacation stuff during my vacation, I decided that doing chores was probably something I should get to. So, Carmen and I set to work.
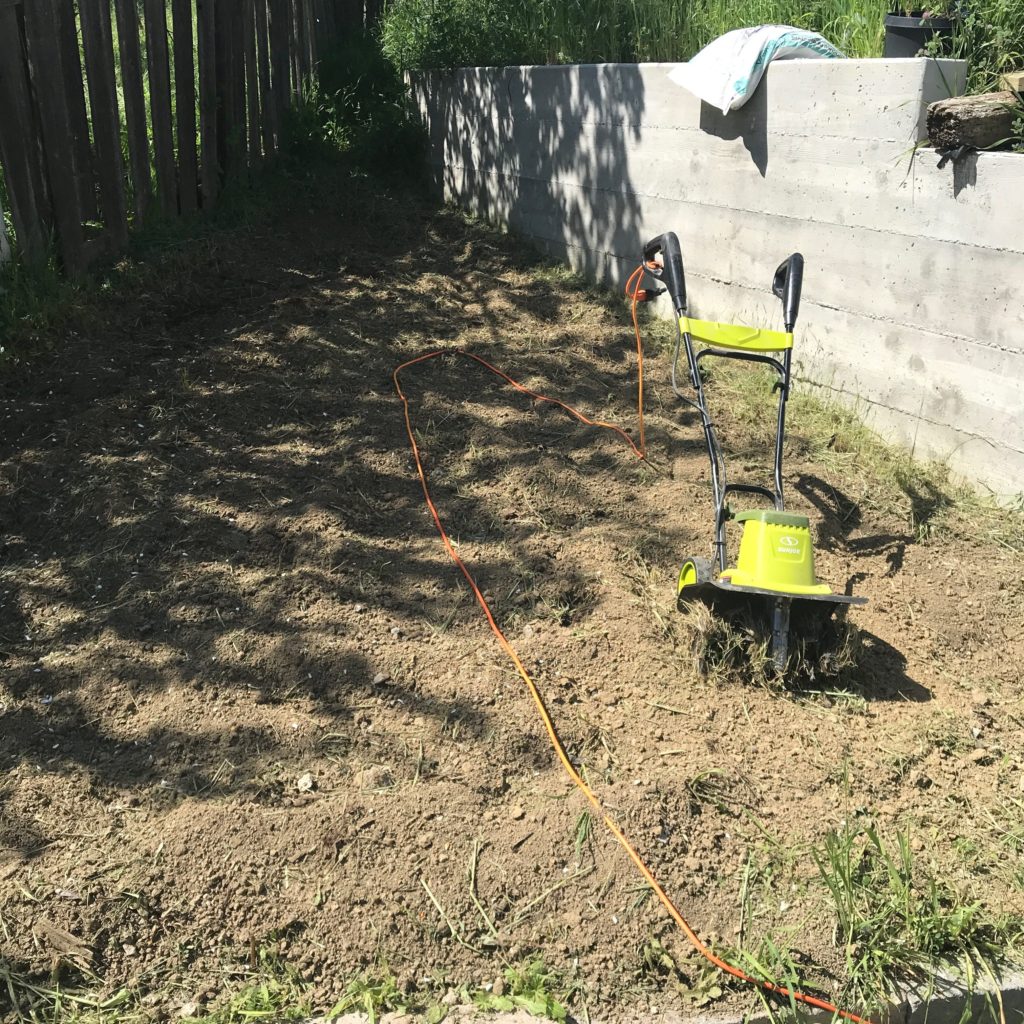
First on my agenda was to weed-whack the worst corner of the back yard, while Carmen set to work on pulling some of the weeds. This plays to both of our strengths: I like to do big things, preferably with power tools, and she is more fastidious and careful in making things look nice. I also don’t mind wading into piles of buggy weeds where a tick or two have been known to hide.
Anyway, after a half and hour or forty minutes, I had gotten the worst of this corner roughly chopped and tilled (sorry, no “before” pictures):
I then went to check on with Carmen. She had been making some good headway, but wished aloud that she had a low stool that she could sit on while pulling weeds. I empathized with her: I don’t like crawling around on my knees either, and bending over while standing isn’t all that much fun for my lower back.
But then I thought “Hey, I have tools, and some scrap lumber. I could make a nice, sturdy little stool that we could use for this purpose.” And not only that, I could then stop working on the weeding and spend time in the garage using power tools instead!
So, that’s what I did. I spent a little more than an hour cutting up pieces of 2x4s and attaching them with some 2.5″ Deck Screws that I had lying around, and then topped it with some other scrap boards I had lying around. I decided not to glue anything (who has time) but did spend some time pre-drilling and countersinking screws to hold all the pieces together. I didn’t draw up a plan, but I had been thinking about how to make a potting bench, and most of the elements here are the same, just smaller. I just cut six pieces of 2x4s 16″ long and 2 pieces 20″ long. This made the top about 19″x20 when I assembled the frame, and the top is about 16.5″ tall, which was about right to enable us to work at our feet while sitting. Carmen used my newly completed router table to smooth over all the top slats with a 1/4″ roundover, and I eyeballed all the hole locations and screws, trying to get the edges even and the spaces relatively uniform. It’s better than it needs to be.
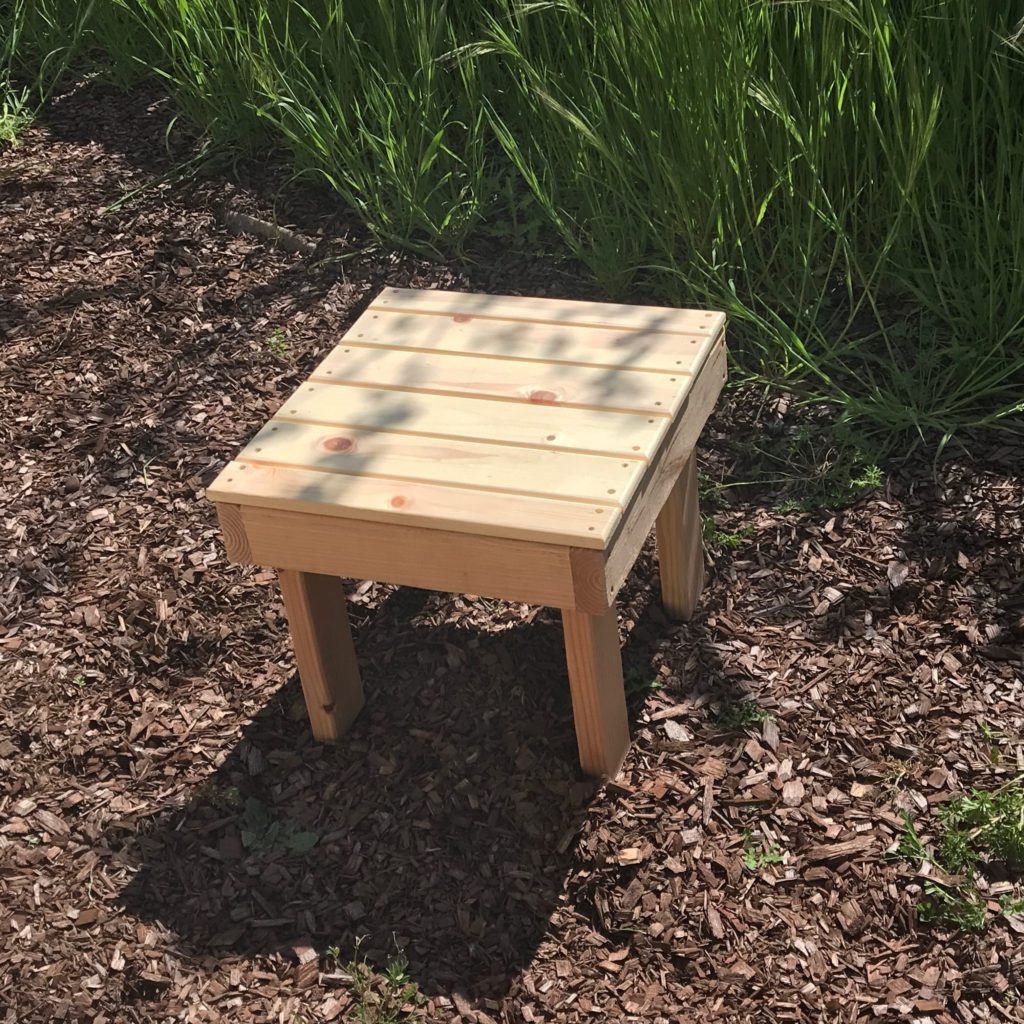
I haven’t figured out how we should finish bench yet. Carmen I think is fine with just spray painting it. I am tempted just to rub a couple of coats of linseed oil on it and let it be that way. Anyone have any suggestions?
It’s good and strong. I’m a big (okay, I’m fat) guy, and sometimes stuff like this creaks ominously when I sit on it. This seems really, really stable. I have no fear if I chose to jump up and down on it.
And, I managed to spend two hours in the shop woodworking instead of doing more lawnwork! And Carmen even thanked me for it. Double score!