Day 23, My dovetailing/joinery toolbox
This is day 23 of my garage gems series, and 23 is a prime number, so I thought I would give you guys a bonus and highlight what I've come to refer to as my "dovetailing toolbox".
I am not an organized person by nature. It usually takes me some effort to impose order and purpose on the collections that I have. One way that I do so is to collect all the tools related to a particular task, and group them in a toolbox. I have about eight different soft Dewalt/Harbor Freight/whatever zippered tool bags around my shop, each of which holds tools which are dedicated to particular (and probably uninteresting tasks).
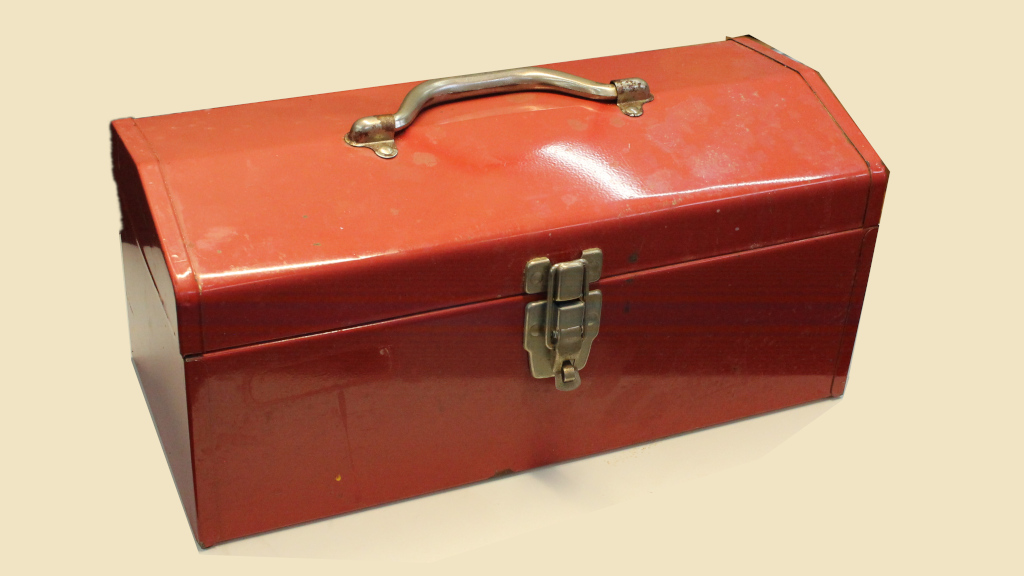
This is a hard metal toolbox that I got (as in pretty much everything in this series) at a garage sale. It's nothing special, but came to me reasonably free of rust and damage, minus a few dents that do not offend me. It did not have an inner tool tray, so I made one custom fit out of some 1/4" plywood that I had lying around. And this has become the respository for all my tools that are generally related to precision marking/layout/joinery. In particular, I hold all my tools (minus some chisels, which hang on the wall) related to cutting dovetails.
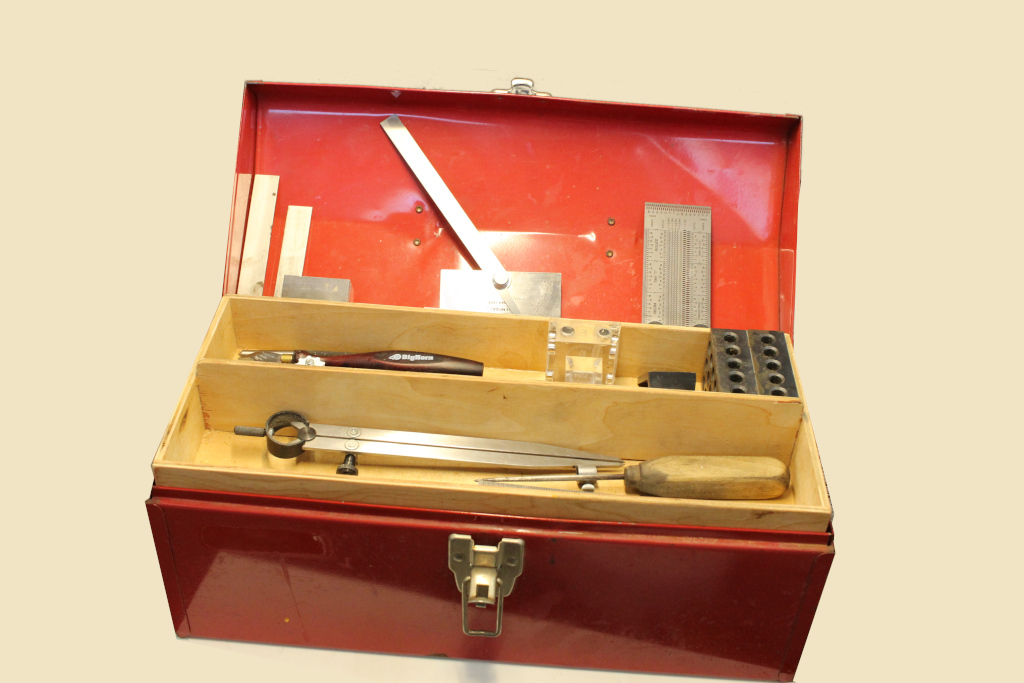
Opening the top reveals the first layer of tools. Normally these are stashed in the top tray, but I have spread them out so you can better see what they are, and so I don't have to take a million pictures. Across the lid I see:
-
Two small machinists squares. I don't have a huge Youtube channel where tool manufacturers send me tools for free, so instead of seeing the ubiquitous laser etched Woodpecker brand squares, these are literally the cheapest small squares that you can get from aliexpress. They aren't anything special, but they are square to the limit of my needs, so they get a lot of use.
-
A protractor for setting and copying angles. I don't actually use this tool very much. For 45 degree miters, I have some dedicated squares and gauges, and for setting angles for dovetails, I have some gauge blocks set to 1:8 or 1:6. But it is occasionally useful.
-
An Incra Tiny-T which is a tiny T square that (combined with some mechanical pencils which should be in this box) can be used to layout precise lines spaced from the edge of a board. It's a cool and nicely made gadget, but honestly, having a old school marking gauge is probably just as useful. It turns out that it seldom matters what the actual measurement is in many woodworking tasks: you just need to make things equal, and marking gauges work fine for that. But I digress. It's a nice tool.
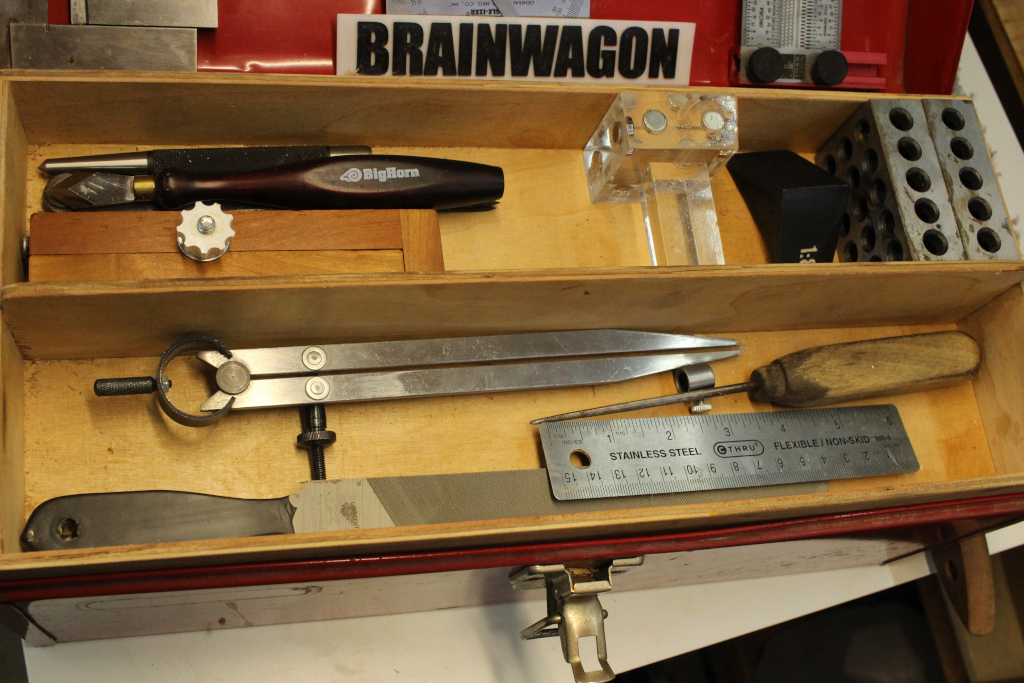
Shifting to the tray contents, you'll see a few more items. From left to right in the real partition:
- A center punch. This doesn't really belong here. I should move it.
- A Big Horn marking knife. Using a knife to mark lines has the benefit that you can nestle a chisel into the line that you cut, which helps with precision. These kind of knives usually have a flat back so you can rest it against the edge of a board and transfer the edge to another board. New, but not an expensive item, about $10 new.
- My home made kerfmaker, which I detailed on Day 11 of this series. Useful for making dadoes on the table saw.
- A Katz-Moses dovetailing jig. Honestly, I don't recall whether I bought the 6:1 or the 8:1 model. I bought it when I was trying to work up the courage to try dovetailing for the first time. The idea is that has magnets which can hold the saw at precisely the right angle to cut the tails and pins perfectly. Honestly, it helps, but I'm not sure that it really warrants the $36 pricetag if you aren't striving for perfection, and if you are striving for perfection, you probably will get there from practice alone. I also have recently thought that I could probably 3D print something like this, combined with some harbor freight magnets, and it would probably cost less than $5. But I'm far from an expert, so what do I know?
- A very simple 1:8 gauge block that I did 3D print out of some ordinary PLA. The lettering is inset, and I just rubbed in some paintable caulking to highlight the numbers. It can be used with the marking knife to layout tails and pins, and is probably entirely adequate for the job. I didn't design this myself, but got it from thingiverse.com, but I didn't save which model it was. There are plenty there.
- A pair of 3-2-1 blocks. These are usually used by machinists, but can be really useful around the shop. They are heavy metal blocks, with very precise dimensions set to one, two and three inches. You should treat yours nicer than I do, as I have gotten glue and stuff on mine (I use them to hold small boxes in place during glue ups) and they are kind of gunky. Very useful around the shop, and the more you use them, the more uses you will find for them. Not expensive.
Now, in the bottom division:
- A pair of dividers. Again, using a ruler to measure out precise measurements for dovetails is pointless. You typically just want them to be even, and using dividers is the way to go. These aren't anything special, but are entirely adquate for doing the kinds of layout I do.
- A safe edge file. Many files have serrations on all sides. This means that they will dig into both the side and bottom of a dovetail if you are trying to fine tune the fit (as I almost always have to do, since I am an amateur). A safe edge file has a smooth edge so that you can rest it on the bottom of the slot you are trying to adjust, and it won't mark up the bottom as you file the side. This was a cheap modern one, less than $10 on Amazon.
- A small stainless steel ruler, with a cork bottom. Hey, you always need rulers.
- A scratch awl. I keep this in here, and use it sometimes like I would a marking knife, but also to mark the centers of anything I need to drill. I get these for free at garage sales often.
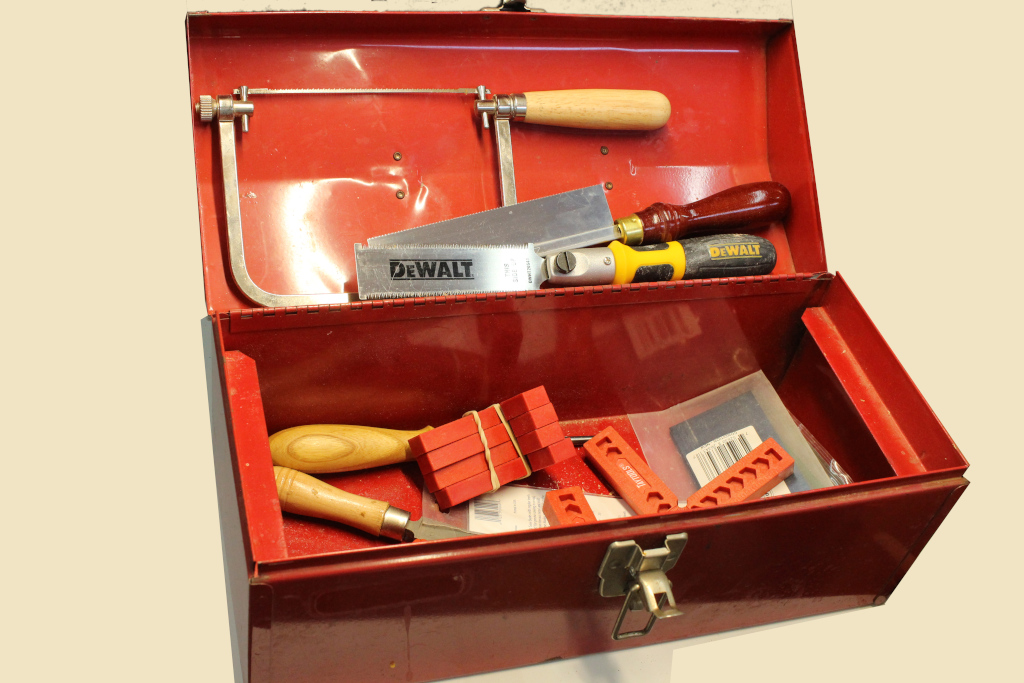
The bottom contains all the larger tools.
- A coping saw. Many people just use chisels to remove the material between cuts, but it is common to use a coping saw to do so. It has a thin blade and can navigate into areas once you do the layout cuts. This is an unremarkable example, it is simply one I got from a garage sale.
- An Olson razor saw. You can spend an infinity of money on dovetailing saws, but it seems like a waste unless you aspire to be doing them all day and winning awards. This is a good, sharp, thin kerf saw that works well for me.
- A DeWalt flush trim saw. This isn't really for joinery. It has a flexible blade, and I use it almost exclusively for cutting dowels that I've glued into holes flush with the surface. It lives here because it is small precision saw.
Moving onto the bottom, I have a collection of odd items.
- Some glass reinforced clamping squares from TayTools. I have four of these in each of four sizes, I keep the smaller ones here, with 4" and 2 1/2" sides. Like the 1-2-3 blocks that I have above, having some simple squares like this can assist in all kinds of layout, and these were cheap (I think I spent less than $40 for the entire collection). Sadly, they don't seem to available on their website anymore.
- Some (as yet unused) scraper blanks and a steel hone. Someday I will use scrapers for real, but these remain aspirational tools.
- Blades for the coping saw.
- A random file, which fits the box but lacks the safe edge that the one in the top drawer has. I started using this one, but then got the safe edge one, which isn't as nice frankly, but works better for the tasks that I have for it.
That concludes my dovetailing toolbox. Hope you all have a good weekend.