Day 33, A Lowrider CNC (work in progress)
Today's garage gem isn't so much a gem as the building blocks for a gem. I had started this project over a year ago, but the project got shelved for a while, and it is only this week that I am beginning to strongly get back into it. Like most projects which get interrupted, the first step is to try to recall where I was at when I shelved the project, and the first thing I had to do was to create an inventory of the parts and steps that I had completed.
This is made more complicated by the fact that I also started a similar project with many of the same parts, and those parts are intermingled with this projects, so I have to go through and split them apart. Stay tuned for that project on a future installment.
But today's project is a Low Rider CNC 3 designed by V1 Engineering. The idea of the project is to create a CNC with mostly 3D printed parts that can be used to cut a full sheet of plywood. As it happens, their team has not been idle in the year since I last worked on this project, and they have a V4 version out. As I stare at the box of parts I've already printed, I now have the additional question: should I scrap the parts I've printed in favor of the V4 version? They still have the V3 instructions on their website, so my initial guess is "no", but I think I have to dig through more of the documentation. Overall, the machine looks similar, so I am not sure of the different capabilities. In theory, redoing prints would just cost me a couple of reels of filament, which isn't a big deal. Most of the mechanical bits are the same...
Shrug.
Anyway, onto the pictures.
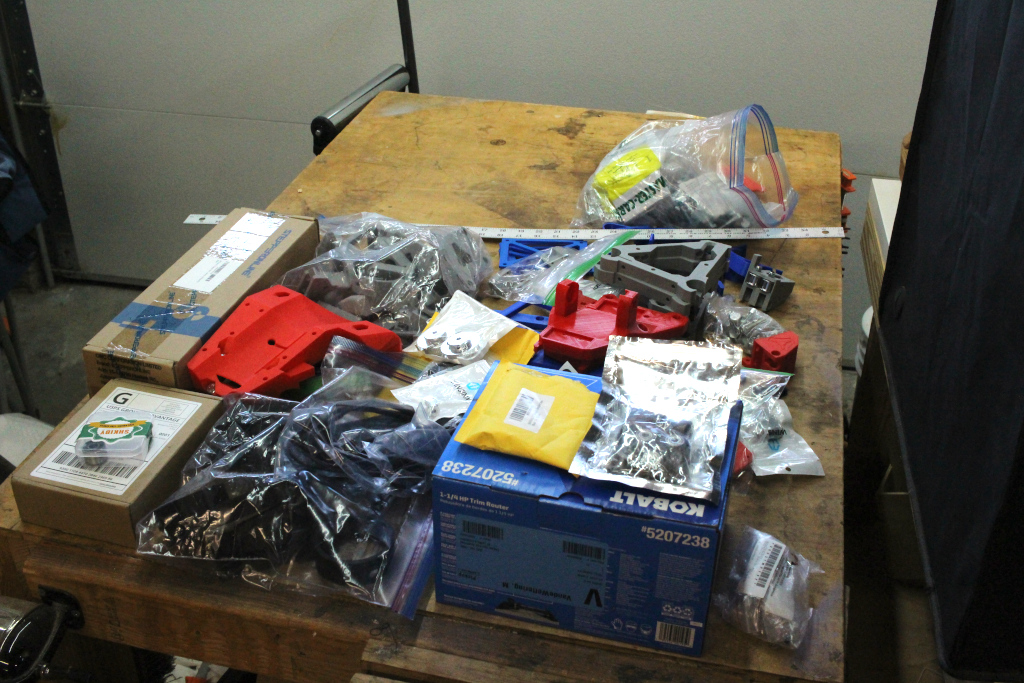
Starting from the left front and working mostly front to back, left to right, the major parts are:
- The official controller board from V1 Engineering. This isn't much different than the control boards of many 3D printers, but I figured the cost wasn't a big deal compared to trying to skimp, and the hope would be it would save me some time compared to using a potentially less expensive unit.
- The cardboard box behind is from Steppers Online, and has five NEMA-17 stepper motors. Honestly, I don't remember if it needs all five motors, but they are cheaper to buy in this quanitity anyway, and the other (as yet only teased) project also requires some steppers, so a few extras isn't a bad idea.
- Going back to the front, a big bag of 3D prints I made in black PLA. I'll have to break those down against the list in the Low Rider instructions.
- The red gadget is the main section of the gantry to which the router gets bolted. A close up below.
- More bags of printed parts.
- The blue box is the router that I purchased for the project. It is a Kobalt 52238, which I got on sale for an astonishingly low price of $60 on sale. [It was designed in collaboration with V1 Engineering)(https://www.v1e.com/blogs/news/kobalt-router-featuring-the-lr3) especially for this project, which made its purchas a no brainer.
- More bags, with bearings, bolts, nuts, and various other bits of hardware.
- More 3D printed parts. The gray triangular parts are used to hold 1" EMT conduit which serves as the bearing surfaces for the slides.
- Seriously, I have to do a more complete inventory of this stuff.
All these items are sitting on a workbench that I constructed for general use. It's 32"x 48", and I'm still mulling over whether it will be the table of the new CNC. It would be great if I could cut a full sheet of plywood, but I think that is overly ambitious for me. Many of the parts that I imagine could be done on a 1/4 sheet of plywood (24"x48") but this table probably could really only cut about 24"x36", which is perhaps a bit small. On the other hand, being able to have a CNC which does something is better than delaying the project to design and build a larger table, and one of the strengths of the design is that moving the main parts to a larger table isn't a big deal. I originally thought that this table wouldn't be flat enough (given it was one of the first things that I constructed, and its at best a bit crude). But laying a long straight edge on it shows that it's pretty decent actually. I am tempted to try to go forward with it.
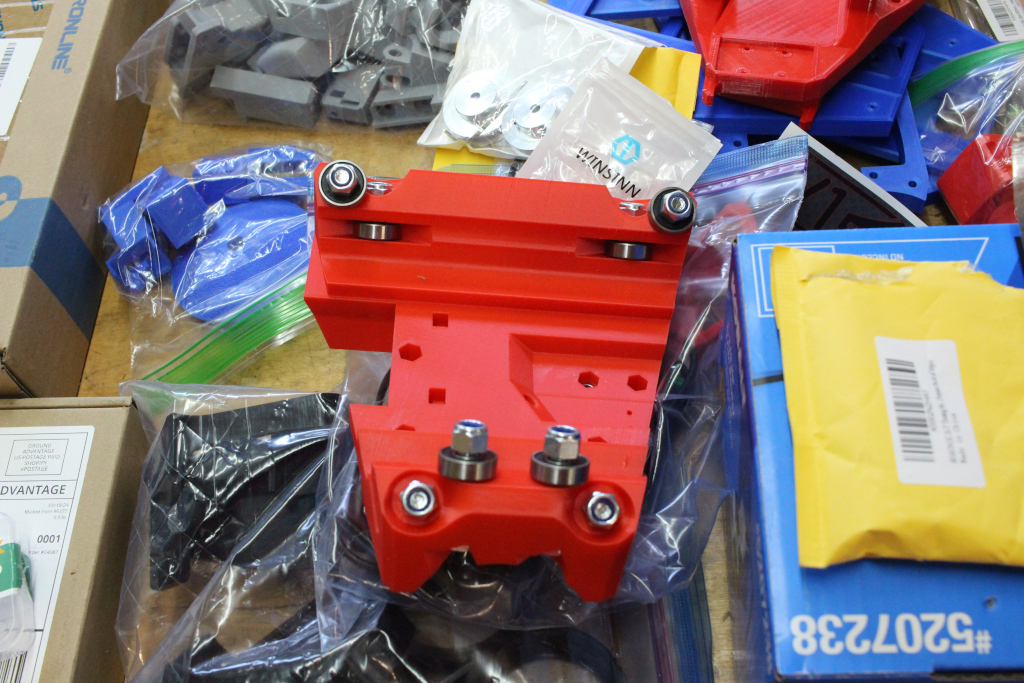
Most of the parts printed without difficulty, but this (the LR core) is a printer that took me about 24 hours to print, and I had to do it three times, because I kept having problems with warping. I eventually traced that down to too hot a bed for PLA, which caused some warping, and this one printed well. I went ahead and installed the bearings and that is about as far as I got on this project.
Has anyone else constructed one of these (or in fact any kind of CNC machine?) I'd love to hear about your experiences. Feel free to contact me with any advice.
Hope your Tuesday is finding you well.