Day 65, Dewalt Trim Router
Yesterday I went out and got myself a sheet of 3/4" plywood to serve as the surface for my ongoing CNC project, and decided to go ahead and just screw it down to the existing rolling bench that I built years ago. It's not perfectly flat, but it's close (ish) and I think I'll learn more by just forging ahead and getting it up and running than trying to make it all perfect at once. I originally intended just to use the surface of the existing table, but that didn't work out as I expected. I wanted to be able to cut parts from 1/4 sheets of plywood, about 24" wide. To accomplish this, I needed to make the table about 38" wide, but sadly this table was only 32" wide. So I had a couple of pieces of 3/4" cut to 40" wide, and bolted that down to the table. The resulting overhang isn't all that much, and it should be fine for testing.
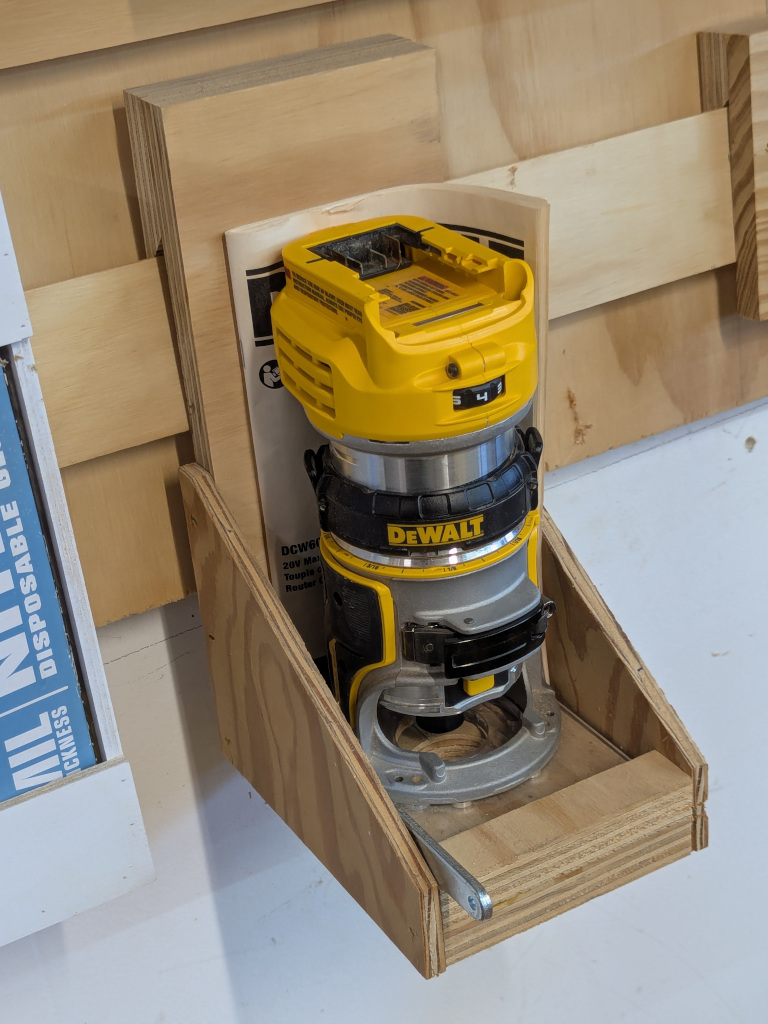
But there were two corners overhanging that were sharp, and frankly the number of times that I've moderately injured myself by bumping things in the shop were not trivial. So, I dusted off another of my gems: a DCW600 trim router made by DeWalt..
I built a nice little holder for it so I could mount it on my French cleat tool wall, and try to always keep the
necessary wrench for installing bits tucked into the side.
I could of course just sounded the corners a bit round to take off the worst of their "Mark-puncturing" capabilities, but why do something in 30 seconds when you could make it into a bigger tasks. Instead, I 3D printed a little 0.5" radius corner template that I got off printables.com, and used it to make a tidier job than was strictly necessary.
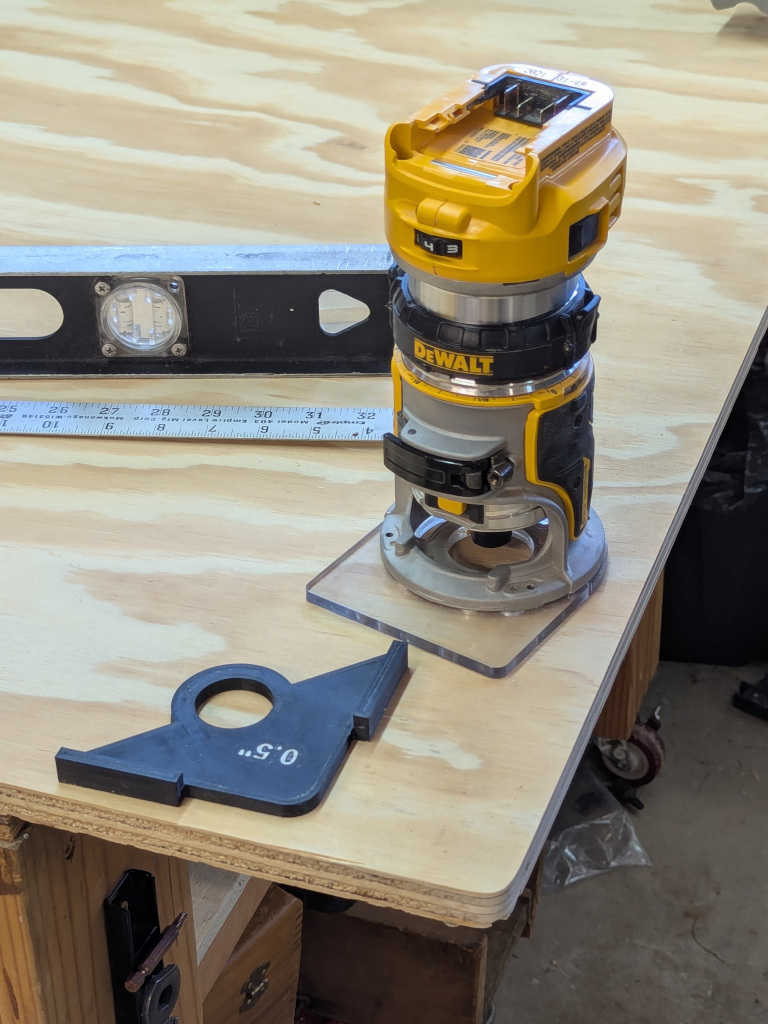
I already had some black ASA loaded (I had preprinted most of the rings that mount the router in the CNC cradle the day before) so printing it wasn't a big deal. To help the recessed letters stand out, I just rubbed in some white paintable caulking, and now I have a jig that I've added to the bag of router accessories that I keep around.
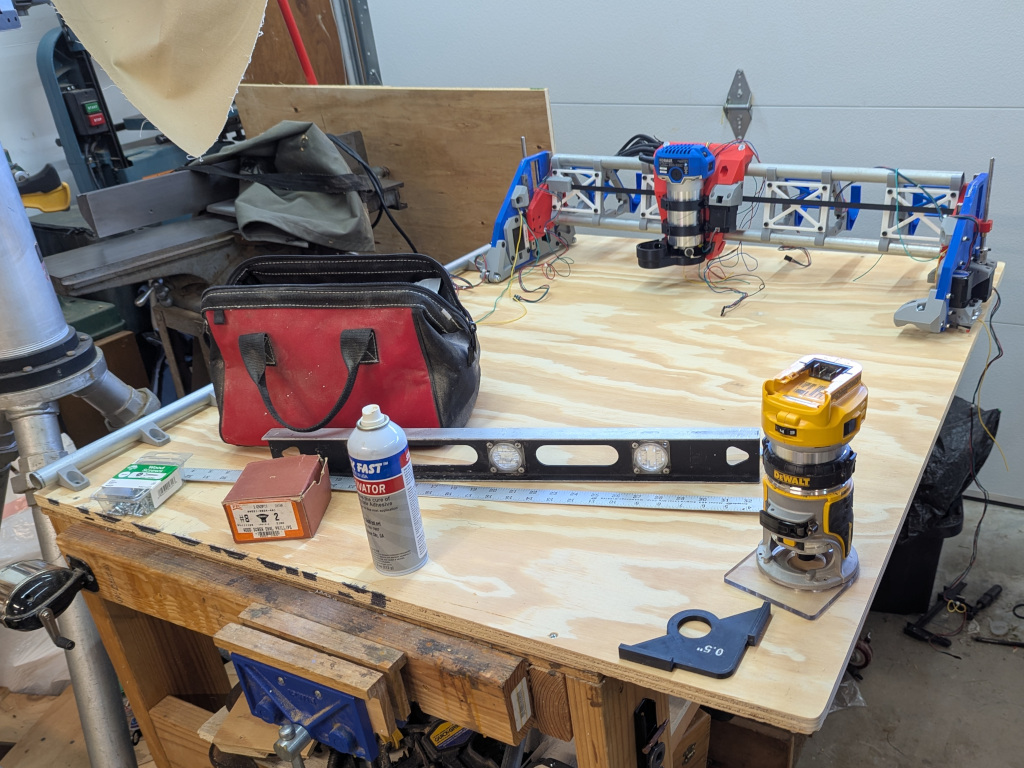
Tomorrow, I'll probably try to get the EMT conduit that serves as the rails installed, and see if I can get the Y belts installed. Then, the thing should be able to move in all three dimensions. Still quite a bit of soldering and tweaking to go before first cuts, but it is getting closer.
Hope you all had a good weekend.