Day 72, My Dust Extractor Cart
If you use a lot of power tools, you will generate a lot of dust. Dust isn't good for your lungs, and it is a pain to clean up, so you probably want some kind of system for eliminating dust as it is being generated. In fancy woodworking shops (or if you are one of those crafty YouTubers) you probably have a dedicated dust extraction setup. But if you are a mere dabbler like myself, you probably want to cobble something together using a shop vacuum and a cyclone extractor.
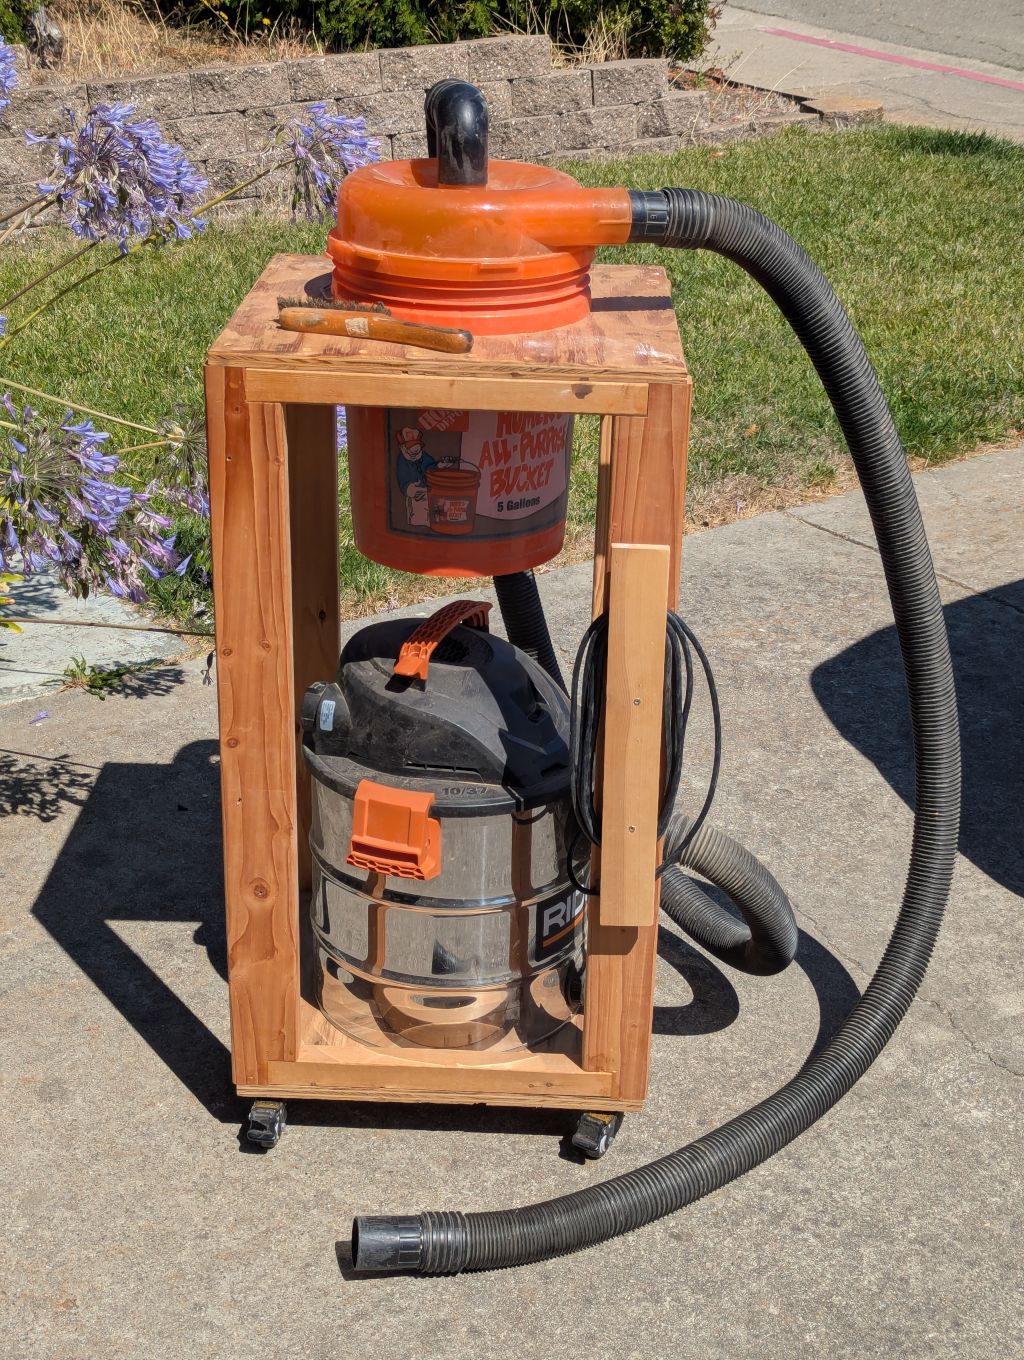
Here is mine.
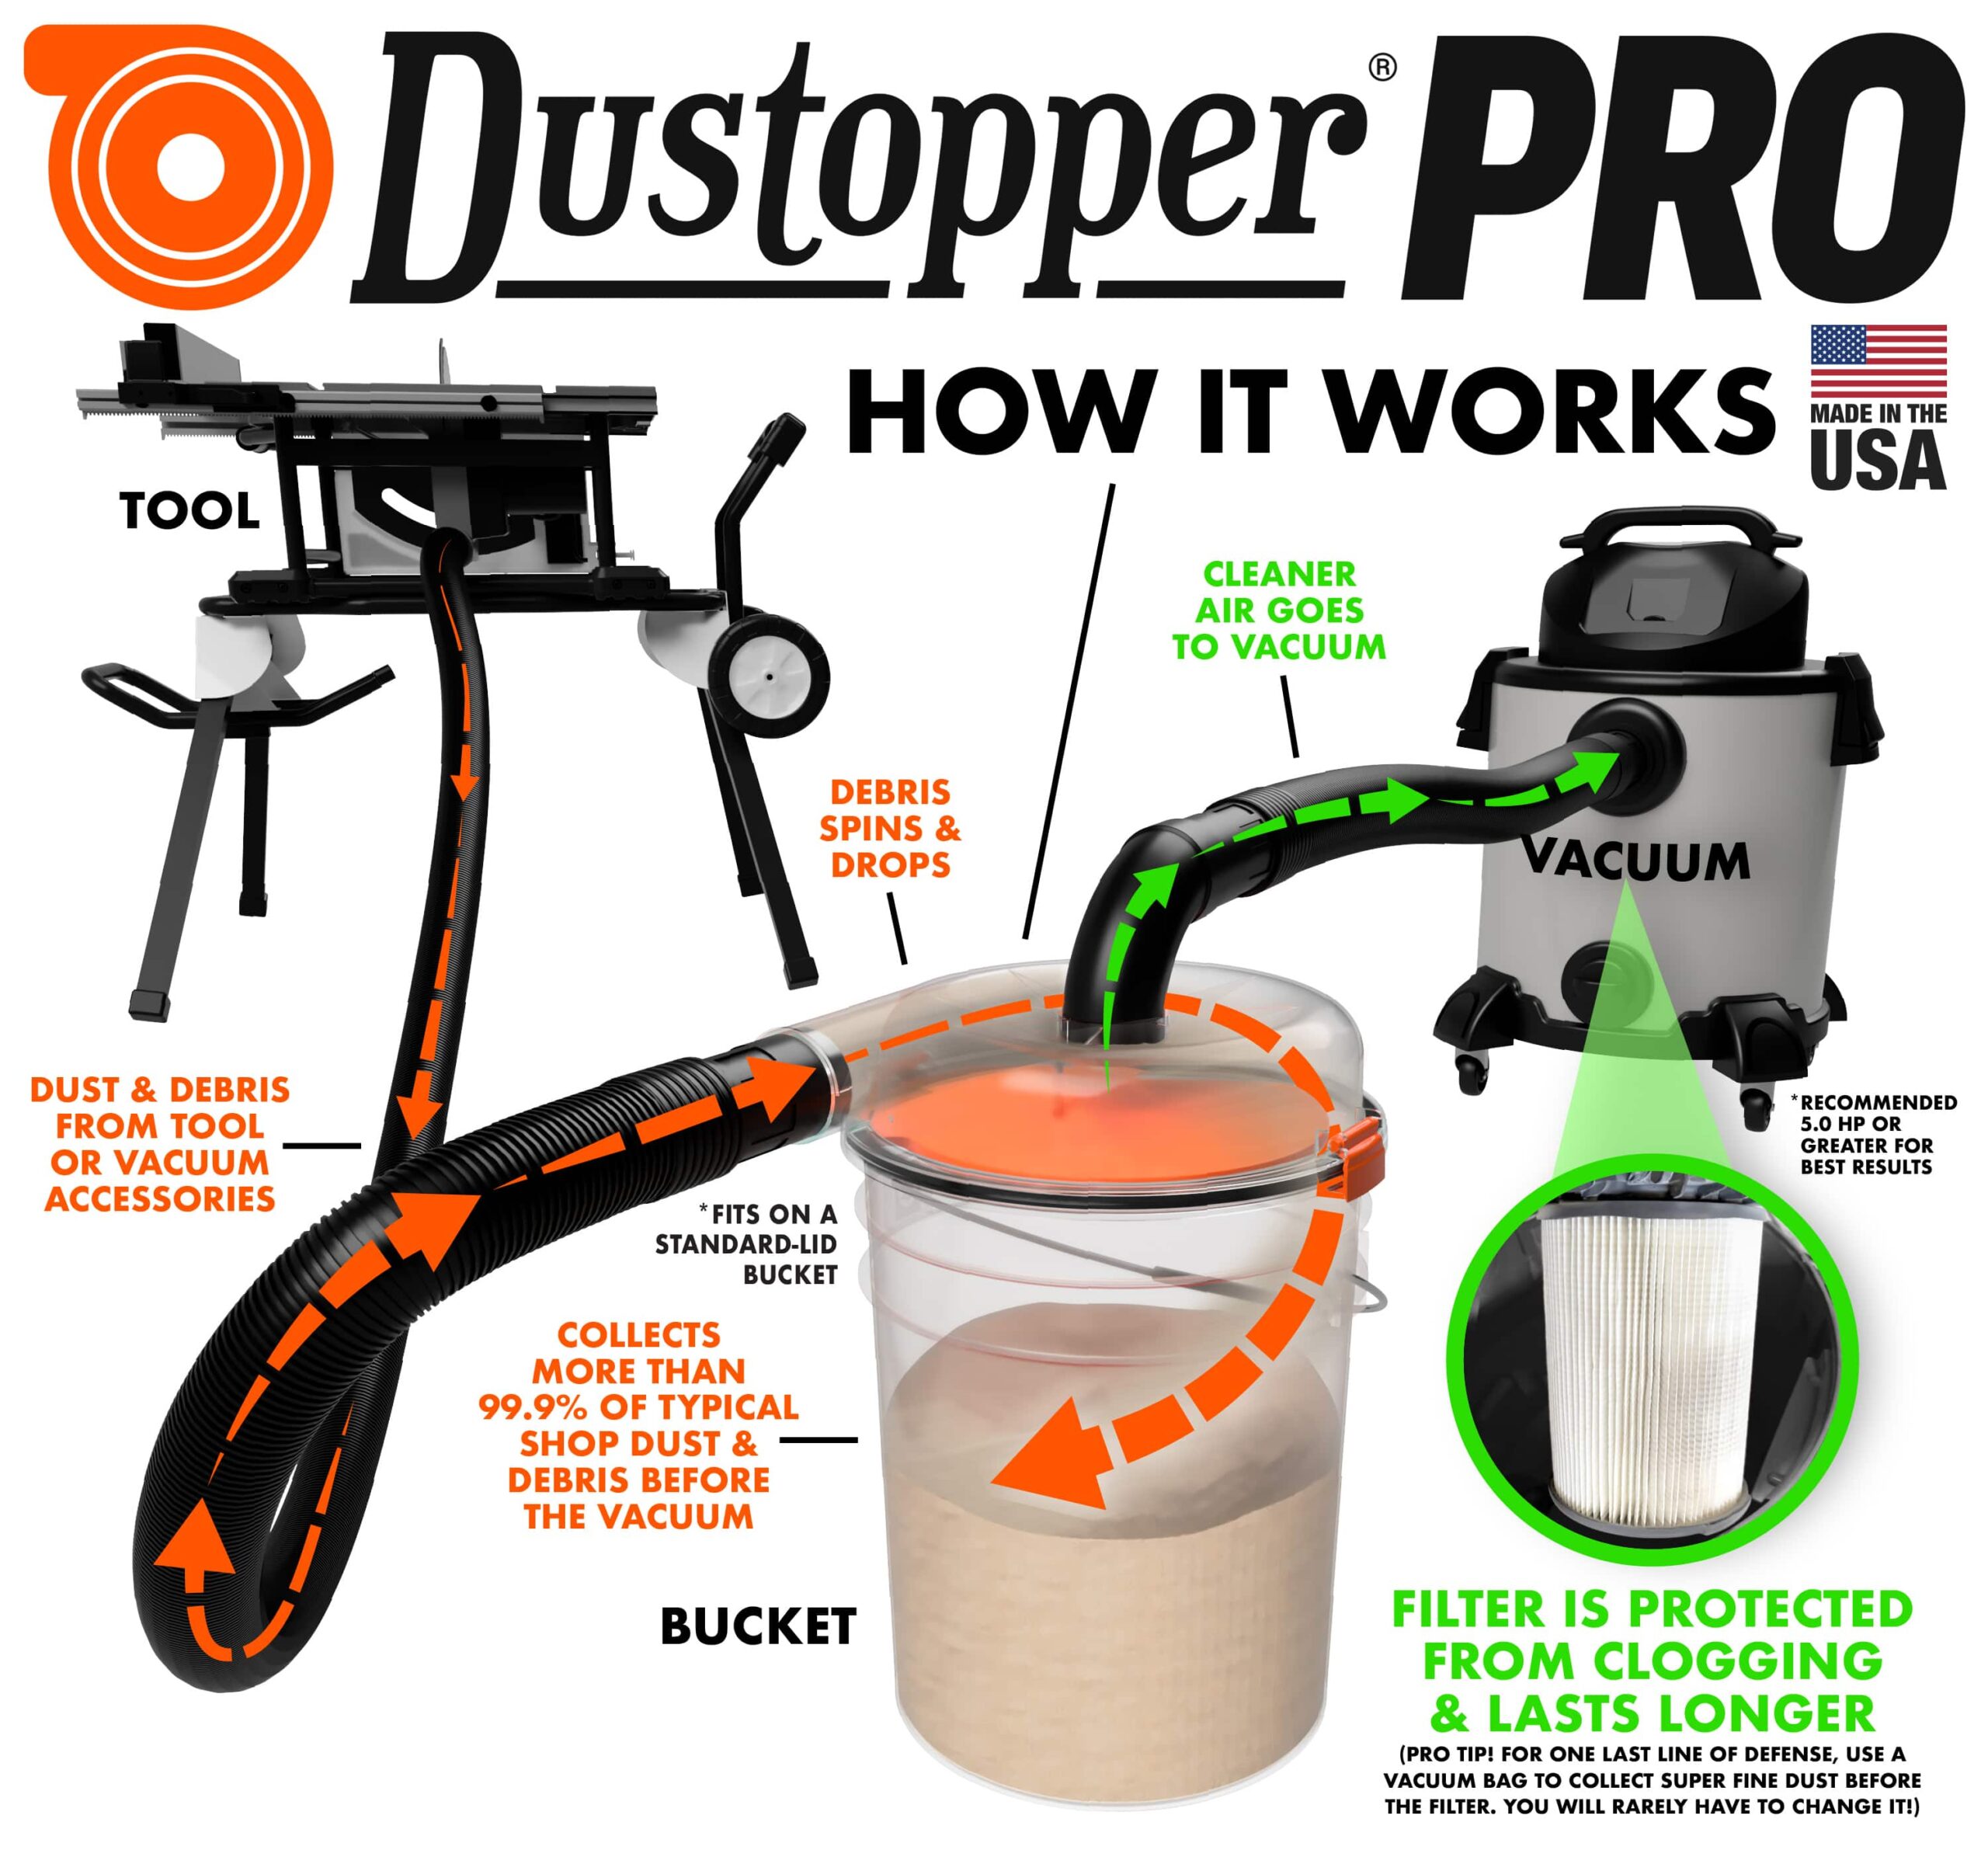
The basic idea of a cyclone extractor is that it creates a sort of mini-tornado inside a chamber that tosses all the heaviest particles to the outside. Only the air that comes from the eye of the tornado is passed to vacuum and its filter/bag. This means that something like 90% of the biggest particles end up in the bucket on top, instead of passing through your vacuum's filter and into its bag. This has a number of advantages:
- The bucket holds 5 gallons, which is a lot. In theory my shop vac is a 10 gallon model, but it doesn't perform very well as it gets full, particularly if you are using the bags.
- It doesn't contain any bag or filters, so it doesn't require changing any filters.
This is both fast and easy. - A lot of the coarsest material is extracted before it even hits the shop vacuum, which extends the life of the filter and reduces the potential for clogging the filter, which means that it maintains performance for longer.
Mine uses a Dustopper that I got several years ago from Home Depot. You can get the newer model now for about $60 which is about what I paid for mine.
If my description wasn't clear, here is an image as to how the thing gets hooked up:
When I first got it, it worked pretty well, but it felt like it was a hassle to hook up in a shop where I might want to move it to be nearer the tools I was interested in. Having a 5 gallon shop bucket and a separate vacuum that were connected with a hose made it cumbersome to move. So, I built a little cart that could store the bucket above the vacuum, and mounted some lockable casters on the bottom. I also added a cleat so that when it wasn't in use, I could wind up the extension cord so that I wouldn't step on it.
I should figure out a better way to tuck the hose away, but somehow that always drops off my to-do list.
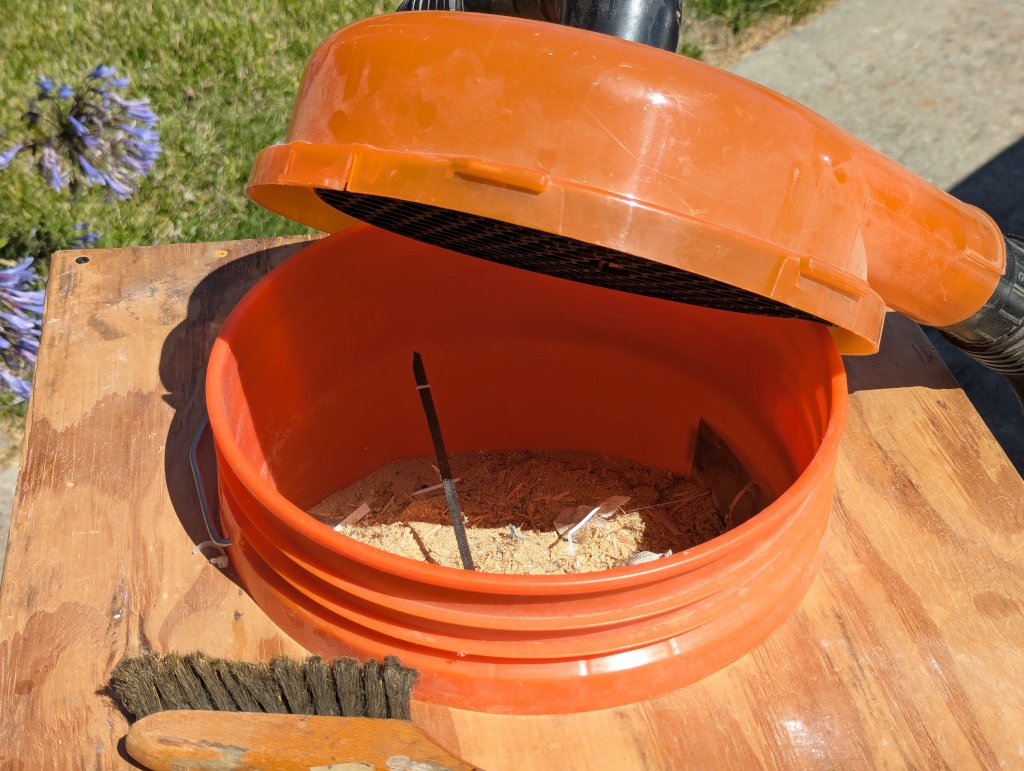
Here you can see some of the dust that it extracted. A lot of sawdust and heavier particles never make
it to the actual vacuum. You just pop the lid and empty it into the trash when needed.
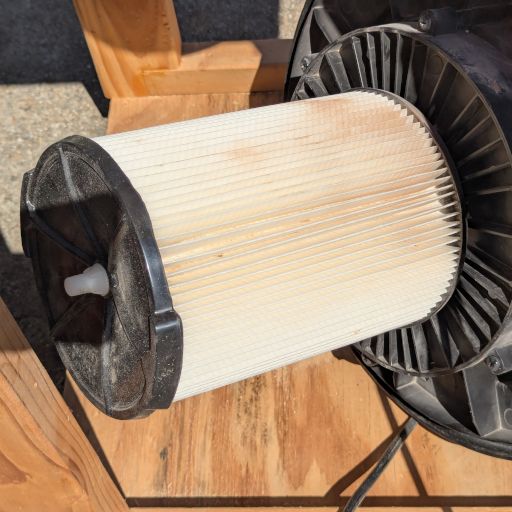
As I emptied that, I decided to have a look at how the filter was doing. It has some fine dust in the filter, but it's in great shape.
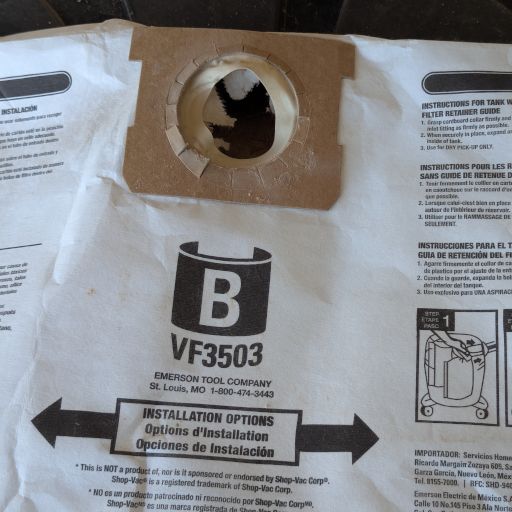
This is just a picture of the type of bag it uses. It had a bit of dust in it (maybe 4 cups or so) but could still be used for quite a while. If all the dust in the extractor would end up in the bags, I'd empty a bag on every project, or even more often if I used the planer or jointer which generate a higher volume of chips.
I dusted this off in part because I'm beginning to think about how dust extraction from my DIY CNC will work. I hope to be making chips with that by the end of August. I haven't written much about that in my blog yet, but when I'm closer I'll do a complete writeup.
Hope you all had a good weekend!