Creality CR-10 updates…
So, I got a new 3D printer about ten days ago, a Creality CR-10. While this printer requires a bit of assembly, it is in general a much nicer printer. It has a 300x300mm heated bed, a control box which is actually in a case that won’t electrocute you, and is constructed from aluminum channel which makes for a much stiffer platform.
This is not to say that it has been entirely easy to get going. When I initially assembled it, I had some difficulty getting the alignment just right. Unlike the Anet A8, the Creality CR-10 has a single stepper driving the Z axis up, powered by a single leadscrew mounted vertically. While I am not exactly a mechanical engineer, I do not think this is actually a very good scheme, and indeed, the upgraded version of the CR-10, the CR-10S has dual leadscrews. But in any case, when I initially powered up, it was clear that the X axis wasn’t level, and getting it to be level is a bit of a hit and miss process. Eventually, I loosened the right side of the carriage and evened the tension, and got it to travel approximately level. After that, I leveled the bed, and was off to the races.
I initially had some difficulty getting PLA parts to stick to the glass bed (I’d never used a glass bed before). Eventually, I just covered it with blue painters tape, lowered the first layer print speed. and we were off to the races.
I spent most of Saturday night and Sunday printing the parts for a small quadcopter. The CR-10 uses a Bowden extruder, which means that I had to tune the retract settings, but overall they came out very well. I’ll do a separate writeup when I get them assembled.
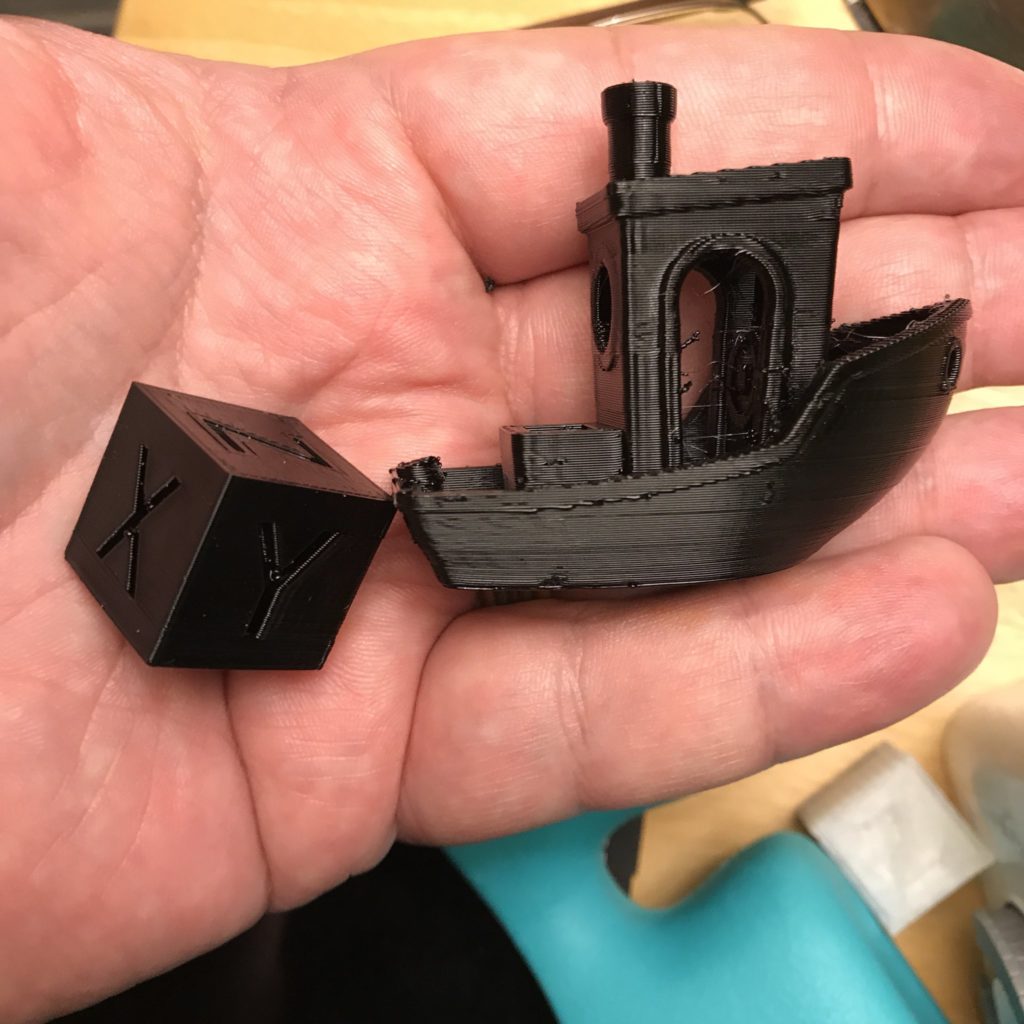
I then decided to try something more challenging, and use some PETG filament. PETG requires higher temperatures, but is supposed to be even sturdier. I printed a calibration cube which turned out very nicely, and then did a quick “Benchy”.
The print quality overall is pretty good. The cube was especially nice. The Benchy shows some rounding of the corners, a few little surface blemishes and stringing. I’ll have to work on improving the quality with some tuning, but given that I’ve really only had two days of experience with the printer, and less than an hour of experience printing PETG, I’m pretty happy.
Stay tuned.

I recall burning three or four weeks of a sabbatical getting Saccade.com on the air with Wordpress. So much tweaking…