Got home from work after seven last night, so didn’t have a ton of time in the workshop. I was also impatient to actually get the parts for my tool caddy actually glued up, so I worked rather more quickly than I should have. I taped the edges, spread some glue, rolled up the sides into shape, checked for square (still hardly perfect) and then shot some pin nails in the side. I then also routed a shallow dado in the bottom for the center divider to fit in, cut it to size, and then later glued and tacked it in. I then spread glue along the bottom and sides of the center divider, centered it in and shot some additional pin nails to hold it in place.
Here is my original, standing along side its inspiration. It’s not a slavish copy: the center divider is slightly taller, the slot a bit narrower (the ends match the 1″ Forstner bit that I had) and I haven’t gotten in the dividers. I’m also debating whether I really want to add the little side areas. I do find them convenient to hold a pencil and my box cutters, but I’m not sure they are essential.

So, what are my lessons learned thus far?
This is the first time that I’ve worked with 1/4″ plywood and pin nails, and it shows. My ability to drive a 1″ pin nail at right angles to a face and into the narrow edge of 1/4″ plywood without having it drift out the sides is… well… it happened a fair amount. I actually wanted to use shorter nails which would help, but my local Home Depot didn’t seem to have many 23 gauge pin nails in stock. The rule that I learned is slow down and be careful, but even then, it seems like had a few wander out the face.
In fact, slowing down in general seems to be a good rule. I wanted to bat this thing out, but I frankly would do a better job and would learn more if I just sat back and really thought about the project and developed a plan. I have to balance this out with my natural (and helpful) desire to just finish things so I can go on to the next thing. And I still must recognize that some of that will simply come with more experience.
But mostly I think that adopting a better, more careful plan on exactly how to construct the project would be helpful. As an example, my order of construction on this project would be roughly:
- Cut sides, middle and bottom. I did this on the table saw, so they were all ripped to the same width.
- Cross cut the pieces to length using my cross cut sled.
- Assemble the shell with pin nails and glue.
- Slot the center of the bottom with a 1/4″ router bit set to make a shallow dado, and then glue and attach the bottom.
- Apply glue to the center and slide it into place, pinning in place with some pin nails.
- Measure and cut some dividers, apply glue and hold in place with pin nails. (yet to be done.)
It’s not a bad plan, really and mostly worked. I rushed some steps so some of them aren’t done brilliantly, so a couple of the glue joints are probably weak (mostly from lack of clamping pressure). But the real mistake was building the project from the outside in, instead of the inside out. Were I to try this project again (and I might), I would likely do it from the inside out. This would mean an order of operation which would be closer to:
- Cut the pieces again. But instead of relying on butt joints, consider using shallow dadoes, not just for additional gluing area/strength, but to register parts together during assembly.
- Begin with the bottom and the middle divider. Route the dado in the bottom to hold the divider, as well as possibly shallow slots for the cross dividers. Attaching the dividers to the center will be easy before the entire things become wrapped in the sides.
- I noticed that the interior dividers in the original are actually made out of 1/2″, not 1/4″ plywood. The heavier material could be used structurally to ensure the middle is set at right angles and is sturdy.
- After the center is fit, then construct the outer case. You could even apply either end first, glue clamp and dry, and then apply the sides. This gives you additional opportunity to double check for square.
- You could also consider adding additional reinforcing dadoes in the faces, although to do so in 1/4″ plywood would likely require measuring and care to a degree which I would apparently consider challenging.
Maybe the details of my “new plan” aren’t right. Maybe they are excessively fussy. After all, I am just building a tool caddy, it doesn’t have to be a model of jointing perfection to be useful. But I am trying to use projects like this to build skills and train my mind and hands to work more consistently and carefully, and I find the kind of problem solving that I’m exercising here to be helpful (and pleasurable).
It’s likely that I’ll just cut some dividers out of 1/2″ plywood (easier to tack in place) and glue them in, rub some boiled linseed oil on the whole thing, and call it done. But I think I’ve learned some lessons, and whatever my next project is, I’ll try to carry some of the lessons forward.
Other simple lessons:
- I did take some time to measure the accuracy of my cross cut sled. It’s about 0.27 degrees off, making cuts which lean a little to the left. 0.27 degrees doesn’t sound like much, but in an 8″ wide board that’s the better part of a full mm, which is pretty easy to see and pretty obvious when you lay a square against it. I used that sled here to cut my sides, and while the overall thing went together fairly well, it’s still not to my satisfaction. I think that version #2 of my cross cut sled is likely a project I’ll try sooner, rather than later.
- I didn’t take enough care to get the slot for the center divider actually centered in the base. If I were to do it again I’d take more care, and were I to add matching dadoes for the two ends, I’d likely choose an order of operation where I first slotted the piece, then cut them to size to make sure the dadoes all lined up precisely.
- More clamps. I also think some 1-2-3 blocks would likely help me get things lined up properly.
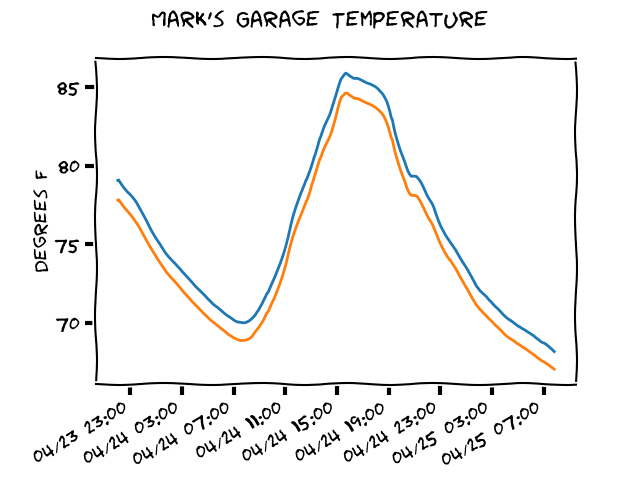
Anyway, that’s enough for now. I’m likely to spend some time in the shop this weekend, if it doesn’t get too hot. Yesterday, temperatures reached about 85, which I don’t find comfortable. I had Carmen open up the shop doors, which helped a bit, and it was probably only 80 when I did the bulk of the work, but if I can do some work on Saturday morning, I’ll probably find it more comfortable.
Hope you all are having a good day.
Hi Mark!
On the saw, you might want to think about just using a square *on both sides* to prove to yourself that it’s, well, square. Easier than trying to do it digitally / from measurements.
On the project itself: with those butt joints, the frame does a really good job of resisting pressure from the outside. You could toughen it, and add pockets instead of the external boxes, by wrapping it in fabric (like cotton duck). Just a thought. I love how lightweight this design is; once upon a time, I did the traditional “dowel and a box” design and it’s annoyingly heavy. Long lost now, but too heavy to be interested in re-doing. I really like what you’ve done here…
Greetings from Toronto, where we’re just beginning to experience Spring,
Dak