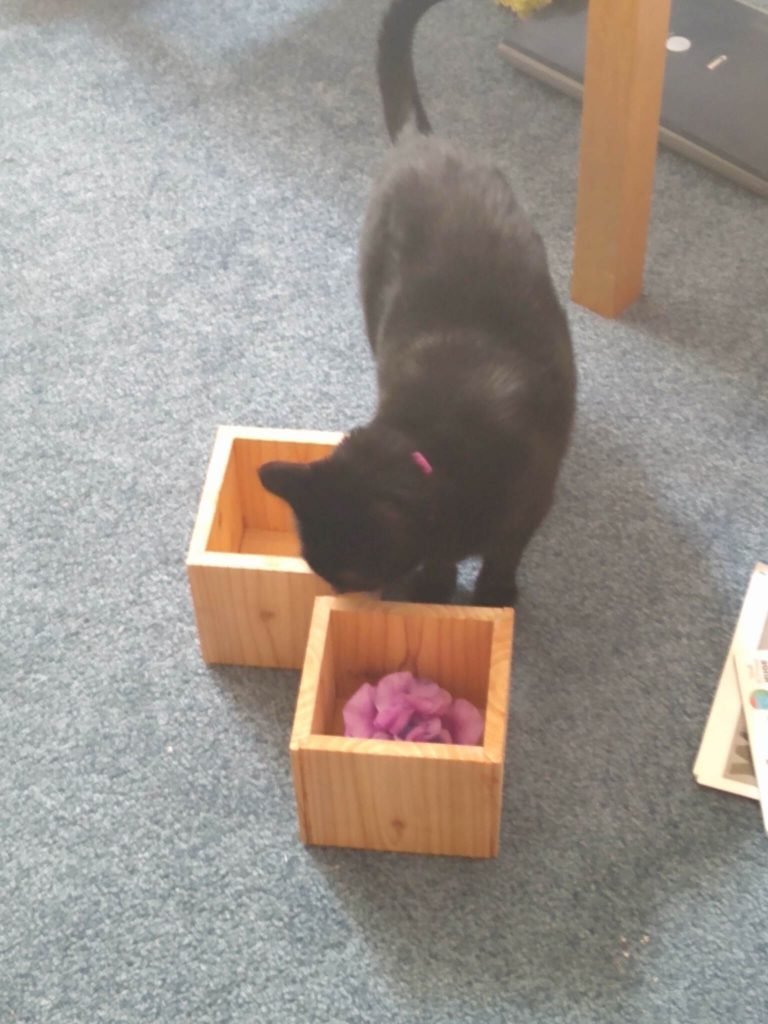
I am still an absolute rookie woodworker, which means that time spent in the shop doing the most basic skill building exercises can be fun. My previously mentioned “skill building” exercise of making a pair of simple boxes had met with the approval of our supurrvisor.
I cut all the rabbets for these on the table saw using my (pretty crude) cross cut sled. I had used it before to make a simple set of small display shelves, but had mostly laid out and cut dadoes by hand, with the net result that some were tight and some were loose. All in all, it made things a little fussier than I would like. That’s when I learned about a gadget known as a kerfmaker: a little adjustable spacer block that you can use to cut perfect dadoes using your table saw without any tedious and error prone measuring. Rather than explain the theory, I’ll point you at the video that I used as the basis of mine, which shows how to make one and served as the inspiration for mine.
Without further ado, here is the one I made.
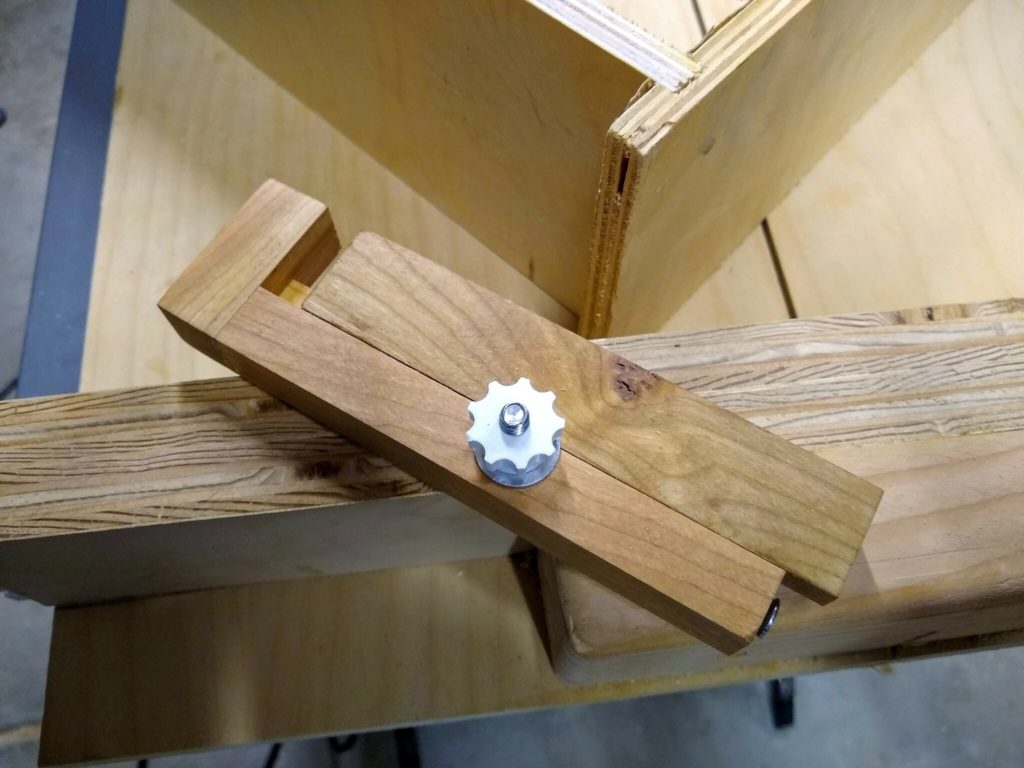
A couple of notes. I still have mostly soft wood 2x4s as scrap around, as I haven’t had the confidence to ruin nice hardwood with my experiments. So I went out and spent a few bucks to get a small piece of cherry from Home Depot. This piece was cut from a piece which was 0.75″ x 1.5″. The first thing I did was cut it to rough length and then cut the rabbets in each side on the table saw. I screwed up my first one, so ended up ripping the overall size down to just 1″ wide, and I still managed to slightly botch the rabbet, but it was serviceable. This made the overall width of the jig rather narrow, which means that if I use it with some stop blocks, they have to be fairly narrow themselves. I’ll probably make a second one and do a better job.
Ideally when you rabbet this piece it will be perfectly split the piece in half, but if you want an error, you probably want to leave the tongue side slightly wide so the washer will grip the sliding part tightly.
I used 1/4″ hardware on mine because I use 1/4″ hardware all the time and that’s what I have lying around. I also printed some knobs on my 3d printer that house a nut. This had an advantage that the nut is a bit smaller than your typical 1/4×20 wing nut. Were I to do it again, I might strongly consider using smaller hardware (say, a #8 machine bolt), but I think the 3d printed nuts are really nice.
I also should note that I screwed up the set screw on the end. I had some 1″ #8 woodscrews. You want to make a pilot hole in the end. Rather than just selecting a small screw by eye, I looked up what the size should be on a table on the Internet, and it suggested 11/64″ for hardwood. I selected that drill, drilled the hole, and went to add the #8 screw and it was WAY too big. It appears that I read the table wrong (the column was for “tapered drills” which seems really annoying). As it happens a #10 wood screw would work okay (it bites in, but turns a little easy), so I just did that instead. When I build my next one, I’ll use #8 and do a better job.
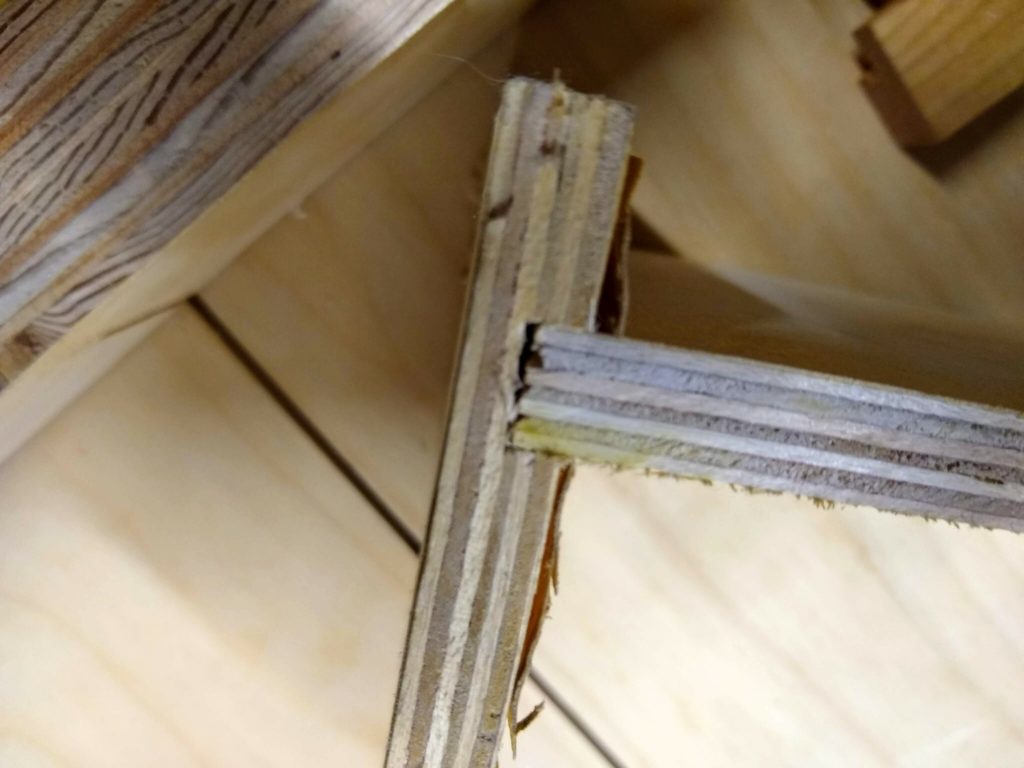
I found a scrap of really crappy plywood and tried to do my first test. It was a bit loose, so I loosened the offset screw a little bit and tried again. The second attempt resulted in a nice dado that wasn’t hard to assemble, but was tight enough that friction would hold it in place. Huzzah!
One last thing: the overall size of my kerfmaker is six inches, and is sized so it would reasonable work to cut half lap joints in 2x4s. I think if we made a smaller one it would be pretty useful. I also think that it might be a good time to make a better (and wider) version of my cross cut sled, perhaps with a T-track along the top to clamp and hold stop blocks.
Still, a nice project.