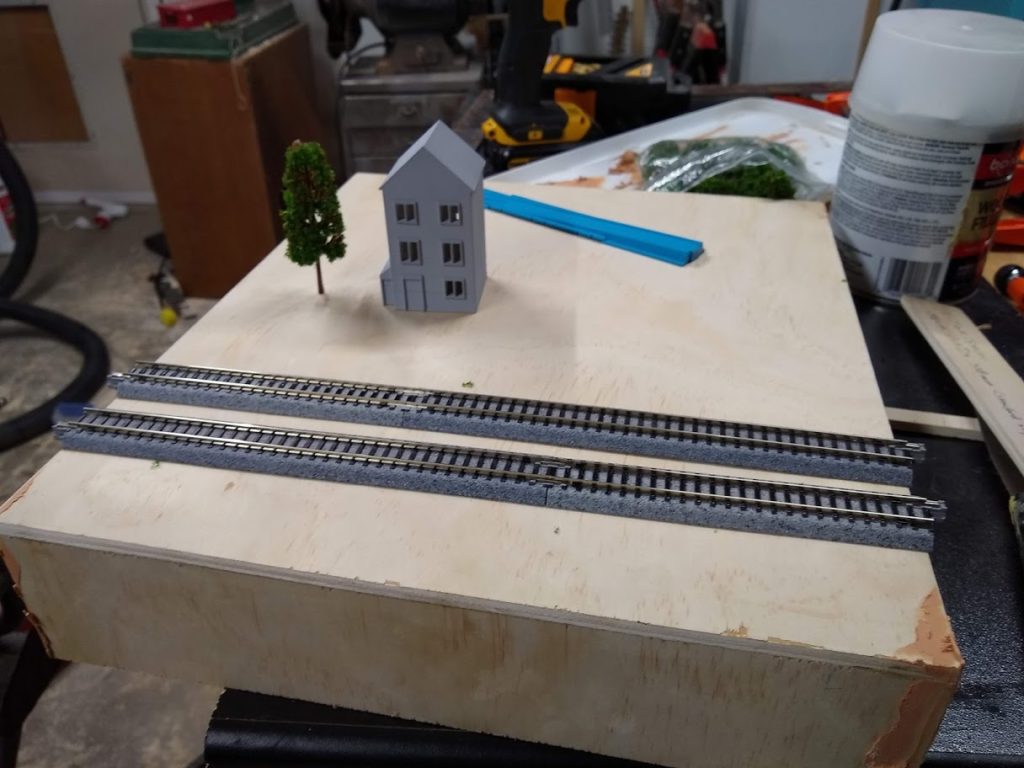
Okay, I had some scrap 1/4″ plywood in the shop, so I decided to go ahead and see if I could make a T-Trak module. I went ahead and ordered some additional Kato Unitrack via Amazon Prime, as well as some really cheap budget scale trees, and set to work. I set the dimensions for the top to be 308mm, and cut the depth to be 14″ which appears to be the standard for single modules. I then cut some 2×2 into 2″ length to serve as corner blocks. I cut the panels to be 2 1/2″ wide, and while I got the front and back sides to be exactly right, the other sides were off in a way that made me believe that the module isn’t entirely square. This made me grumble a lot, and brought out some Wood Bondo to patch some really crufty joints. I haven’t sanded them down, but here’s the basic idea with a 3D printed house, one of my new cheap trees, and two lines of Kato Unitrack roughly placed in the right place.
Voila!
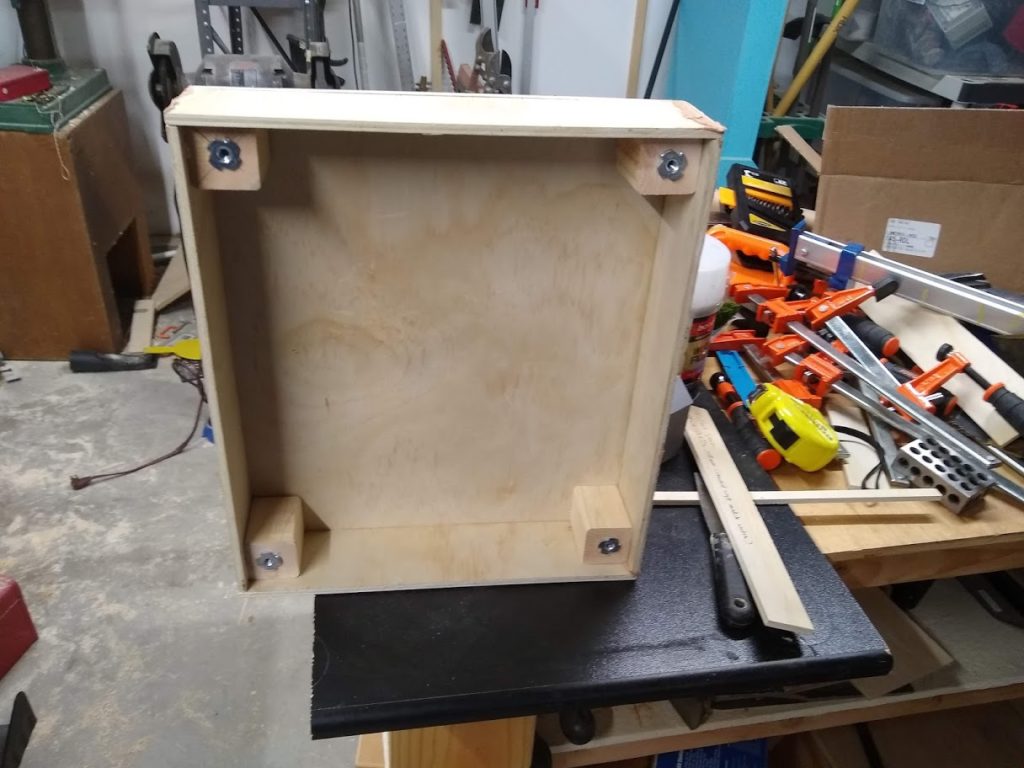
My woodworking skills are still pretty sketchy to be honest. I still have difficulty getting things cut accurately and square. It was especially important to get the width right: the modules are supposed to be 308mm wide. This is important, because the measurement is equal to the length of a 186mm combined with a 124mm makes 310mm. The modules are sized at 308mm with to provide a little tolerance (a little over 1/32nd of an inch). I’m concerned that my modules are just a little bit too large. I cut two additional tops before I ran out of 1/4″ ply, which I am going to double check against sometime soon. Since I am doing this all by myself, without any other modules made by other people to check against, I am not sure in practice what the tolerances will be.
I should note that the way I assembled this was just with clamps and some 1x2x3 blocks. I didn’t even have my brad nailer, which I loaned out to someone. This made assembly more error prone than I would like, with lots of clamping.
I then noticed that a couple of companies and eBay sellers had laser cut module kits for prices that total up to around $30 for a single module when you include shipping. This made me think to myself “what I could I get them made for?” Services like ponoko.com can do small runs of laser cut plywood to specification in 1/4″ ply, and the design itself is pretty straightforward. I was thinking of dusting off my Fusion 360 skills, but I am beginning to think that using something like Python to generate the DXF or SVG outlines of the pieces. I think I’ll try hacking something together later, and then see if I can use the online quoting system to see what it would cost.
The advantage of laser cutting (at least in my mind) are twofold. It means that I can generate identical modules easily, and the assembly should be easier, since instead of butt joints, we can use finger joints which aren’t really necessary for strength, but which make assembly more straightforward.
But in the meantime, I’ll probably try to plow ahead. Once I get a couple of single modules done, I’ll work on either making corner modules or end caps.
For the rest of today, I’m going to sand down the bondo edges and maybe get some primer or paint on it. If I was going to build some more modules, I think I need to go get some more 1/4″ ply.
Hope you all have a good weekend.